> ## Documentation Index
> Fetch the complete documentation index at: https://docs.astrobee.ai/llms.txt
> Use this file to discover all available pages before exploring further.
# Organization Settings
> Manage your workspace, team members, and API access
Organization settings let you manage your workspace identity, team access, and programmatic API access via OAuth clients.
Access settings by clicking **Settings** in the sidebar.
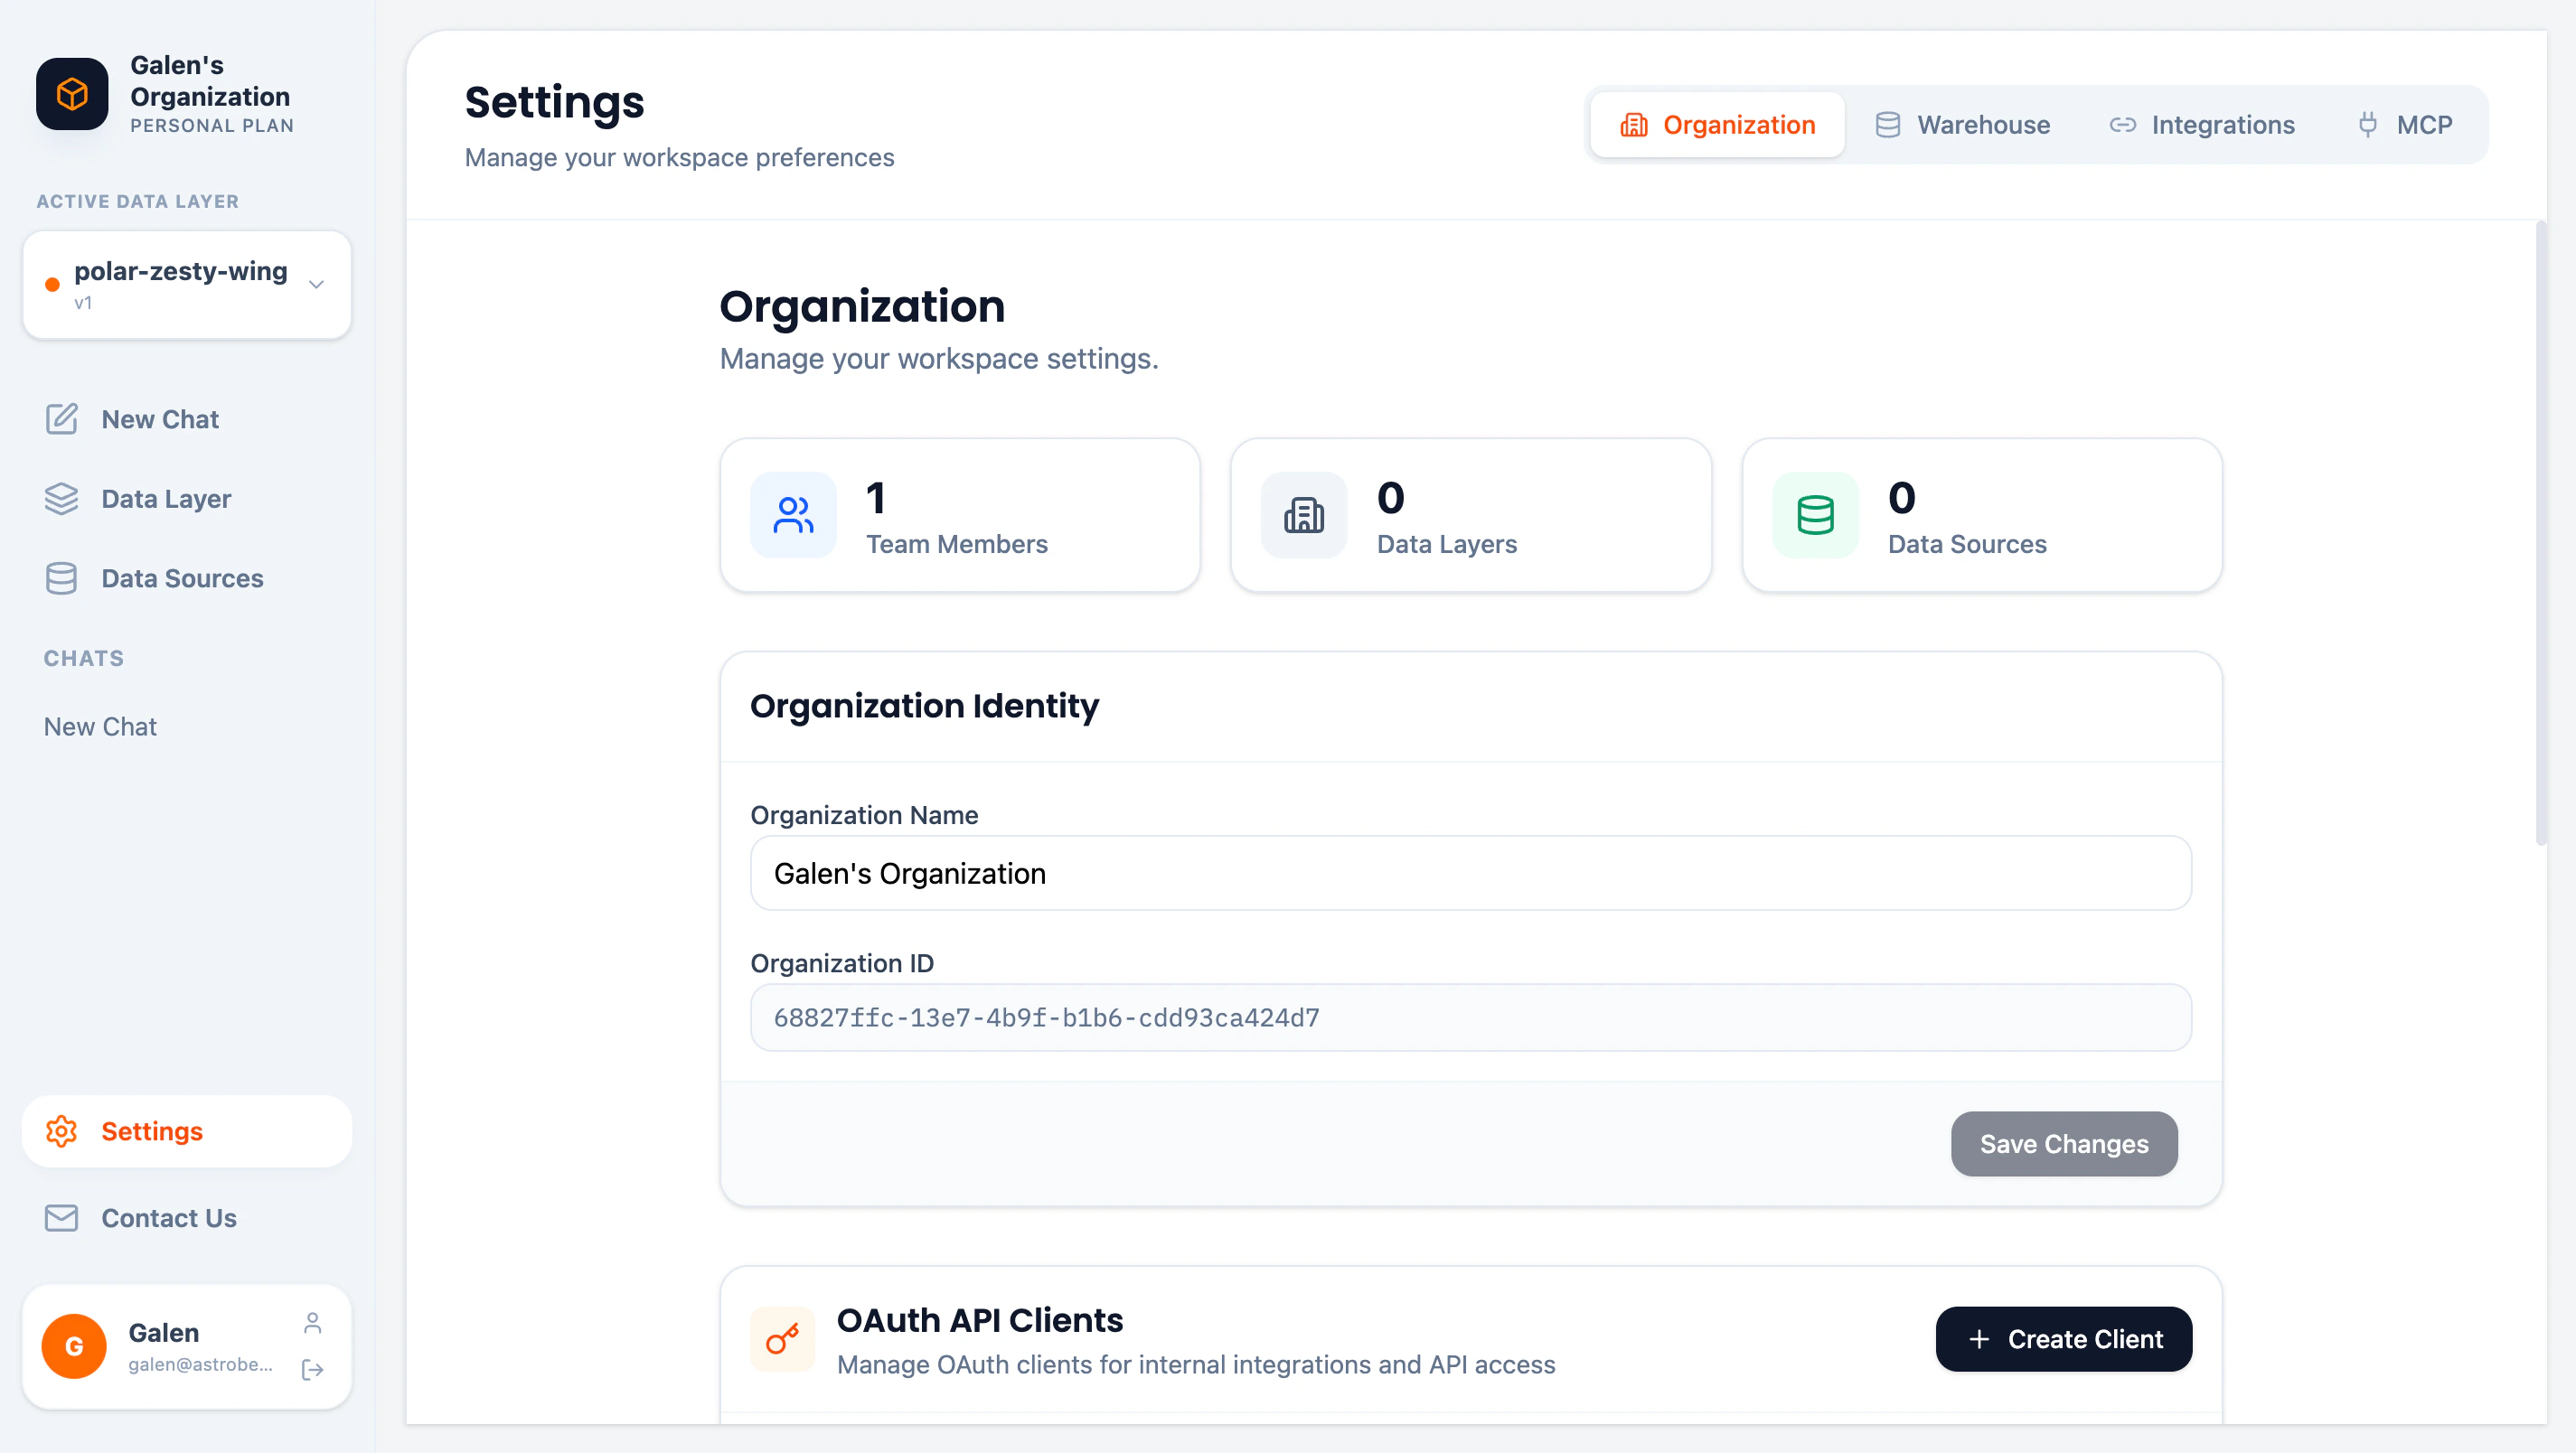 ## Organization Overview
The overview section shows key metrics:
| Metric | Description |
| ---------------- | ------------------------------------ |
| **Team Members** | Number of users in your organization |
| **Data Layers** | Number of data layers created |
| **Data Sources** | Number of connected data sources |
## Organization Identity
Update your organization's display name:
1. Edit the **Organization Name** field
2. Click **Save Changes**
The **Organization ID** is a unique identifier used for API integrations and cannot be changed.
## OAuth API Clients
Create OAuth clients for programmatic access to AstroBee APIs. This is useful for:
* Internal integrations
* Custom tools
* Third-party applications that need API access
### Creating a Client
1. Click **Create Client** in the OAuth API Clients section
2. Enter a name for your client
3. Save the generated **Client ID** and **Client Secret**
The Client Secret is only shown once. Store it securely—you cannot retrieve it later.
### Client Credentials
| Credential | Purpose |
| ----------------- | -------------------------------------------- |
| **Client ID** | Public identifier for your application |
| **Client Secret** | Private key for authentication (keep secure) |
### Managing Clients
* View all clients in the OAuth API Clients table
* Disable clients to temporarily revoke access
* Delete clients to permanently remove access
## Team Members
Manage who has access to your organization:
### Roles
| Role | Permissions |
| ---------- | ------------------------------------------------------------- |
| **Admin** | Full access: manage settings, team, data sources, data layers |
| **Member** | Standard access: view and edit data layers, ask questions |
### Inviting Members
1. Click **Invite Member**
2. Enter the email address
3. Select a role (Admin or Member)
4. Send the invitation
Invited users receive an email to join your organization.
### Managing Members
* Change roles by clicking the role dropdown next to a member
* Remove members by clicking the remove button
* The last Admin cannot be removed or demoted
At least one Admin must remain in the organization at all times.
## Next Steps
Configure your data warehouse settings
Learn about security and compliance
## Organization Overview
The overview section shows key metrics:
| Metric | Description |
| ---------------- | ------------------------------------ |
| **Team Members** | Number of users in your organization |
| **Data Layers** | Number of data layers created |
| **Data Sources** | Number of connected data sources |
## Organization Identity
Update your organization's display name:
1. Edit the **Organization Name** field
2. Click **Save Changes**
The **Organization ID** is a unique identifier used for API integrations and cannot be changed.
## OAuth API Clients
Create OAuth clients for programmatic access to AstroBee APIs. This is useful for:
* Internal integrations
* Custom tools
* Third-party applications that need API access
### Creating a Client
1. Click **Create Client** in the OAuth API Clients section
2. Enter a name for your client
3. Save the generated **Client ID** and **Client Secret**
The Client Secret is only shown once. Store it securely—you cannot retrieve it later.
### Client Credentials
| Credential | Purpose |
| ----------------- | -------------------------------------------- |
| **Client ID** | Public identifier for your application |
| **Client Secret** | Private key for authentication (keep secure) |
### Managing Clients
* View all clients in the OAuth API Clients table
* Disable clients to temporarily revoke access
* Delete clients to permanently remove access
## Team Members
Manage who has access to your organization:
### Roles
| Role | Permissions |
| ---------- | ------------------------------------------------------------- |
| **Admin** | Full access: manage settings, team, data sources, data layers |
| **Member** | Standard access: view and edit data layers, ask questions |
### Inviting Members
1. Click **Invite Member**
2. Enter the email address
3. Select a role (Admin or Member)
4. Send the invitation
Invited users receive an email to join your organization.
### Managing Members
* Change roles by clicking the role dropdown next to a member
* Remove members by clicking the remove button
* The last Admin cannot be removed or demoted
At least one Admin must remain in the organization at all times.
## Next Steps
Configure your data warehouse settings
Learn about security and compliance