What you’ll get
Once connected, GitHub Copilot can:- Browse your data layers and explore their structure
- Run SQL queries against your data
- Generate charts and visualizations
- Discover hidden relationships across your data sources
For editing data layers, use the AstroBee web interface rather than MCP tools. The web interface provides optimized workflows that prevent token overhead and maintain data layer consistency. If you have a specific use case that requires programmatic data layer modifications, contact us at [email protected].
Prerequisites
Before you begin:- AstroBee account with data: Complete the quickstart to set up your account and create the demo data layer. This gives Copilot something to explore.
- Visual Studio Code: Download and install the latest version of Visual Studio Code (available for Mac, Windows, and Linux).
- GitHub Copilot subscription: You’ll need an active GitHub Copilot subscription to use MCP servers with VS Code.
Connect VS Code to AstroBee
Create MCP configuration file
In your workspace, create a new file at The
.vscode/mcp.json. This file tells VS Code how to connect to AstroBee’s MCP server.Add the following configuration:.vscode/mcp.json
astrobee name can be customized to anything you prefer. The URL points to AstroBee’s production MCP endpoint.Start the MCP server
After saving the 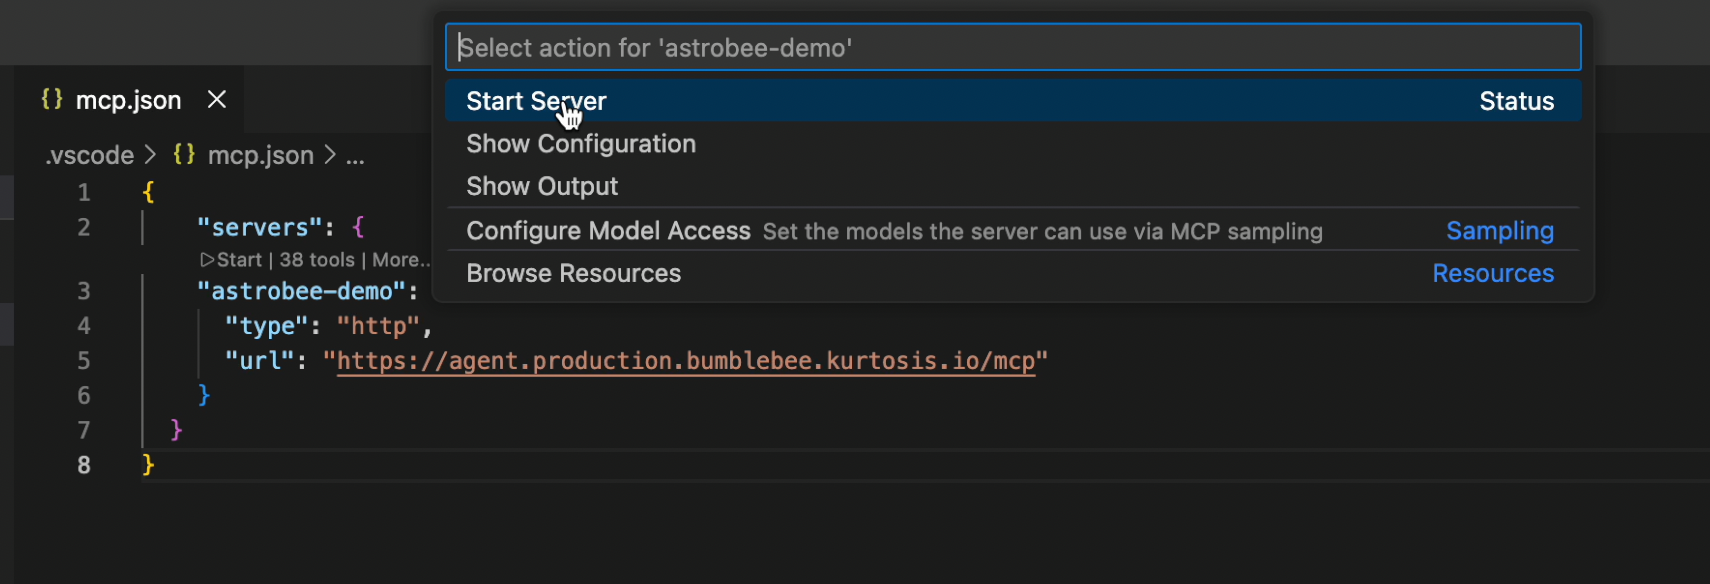
mcp.json file, VS Code will detect the new MCP server configuration.Allow VS Code authentication
VS Code will prompt you to allow the connection to the AstroBee MCP server.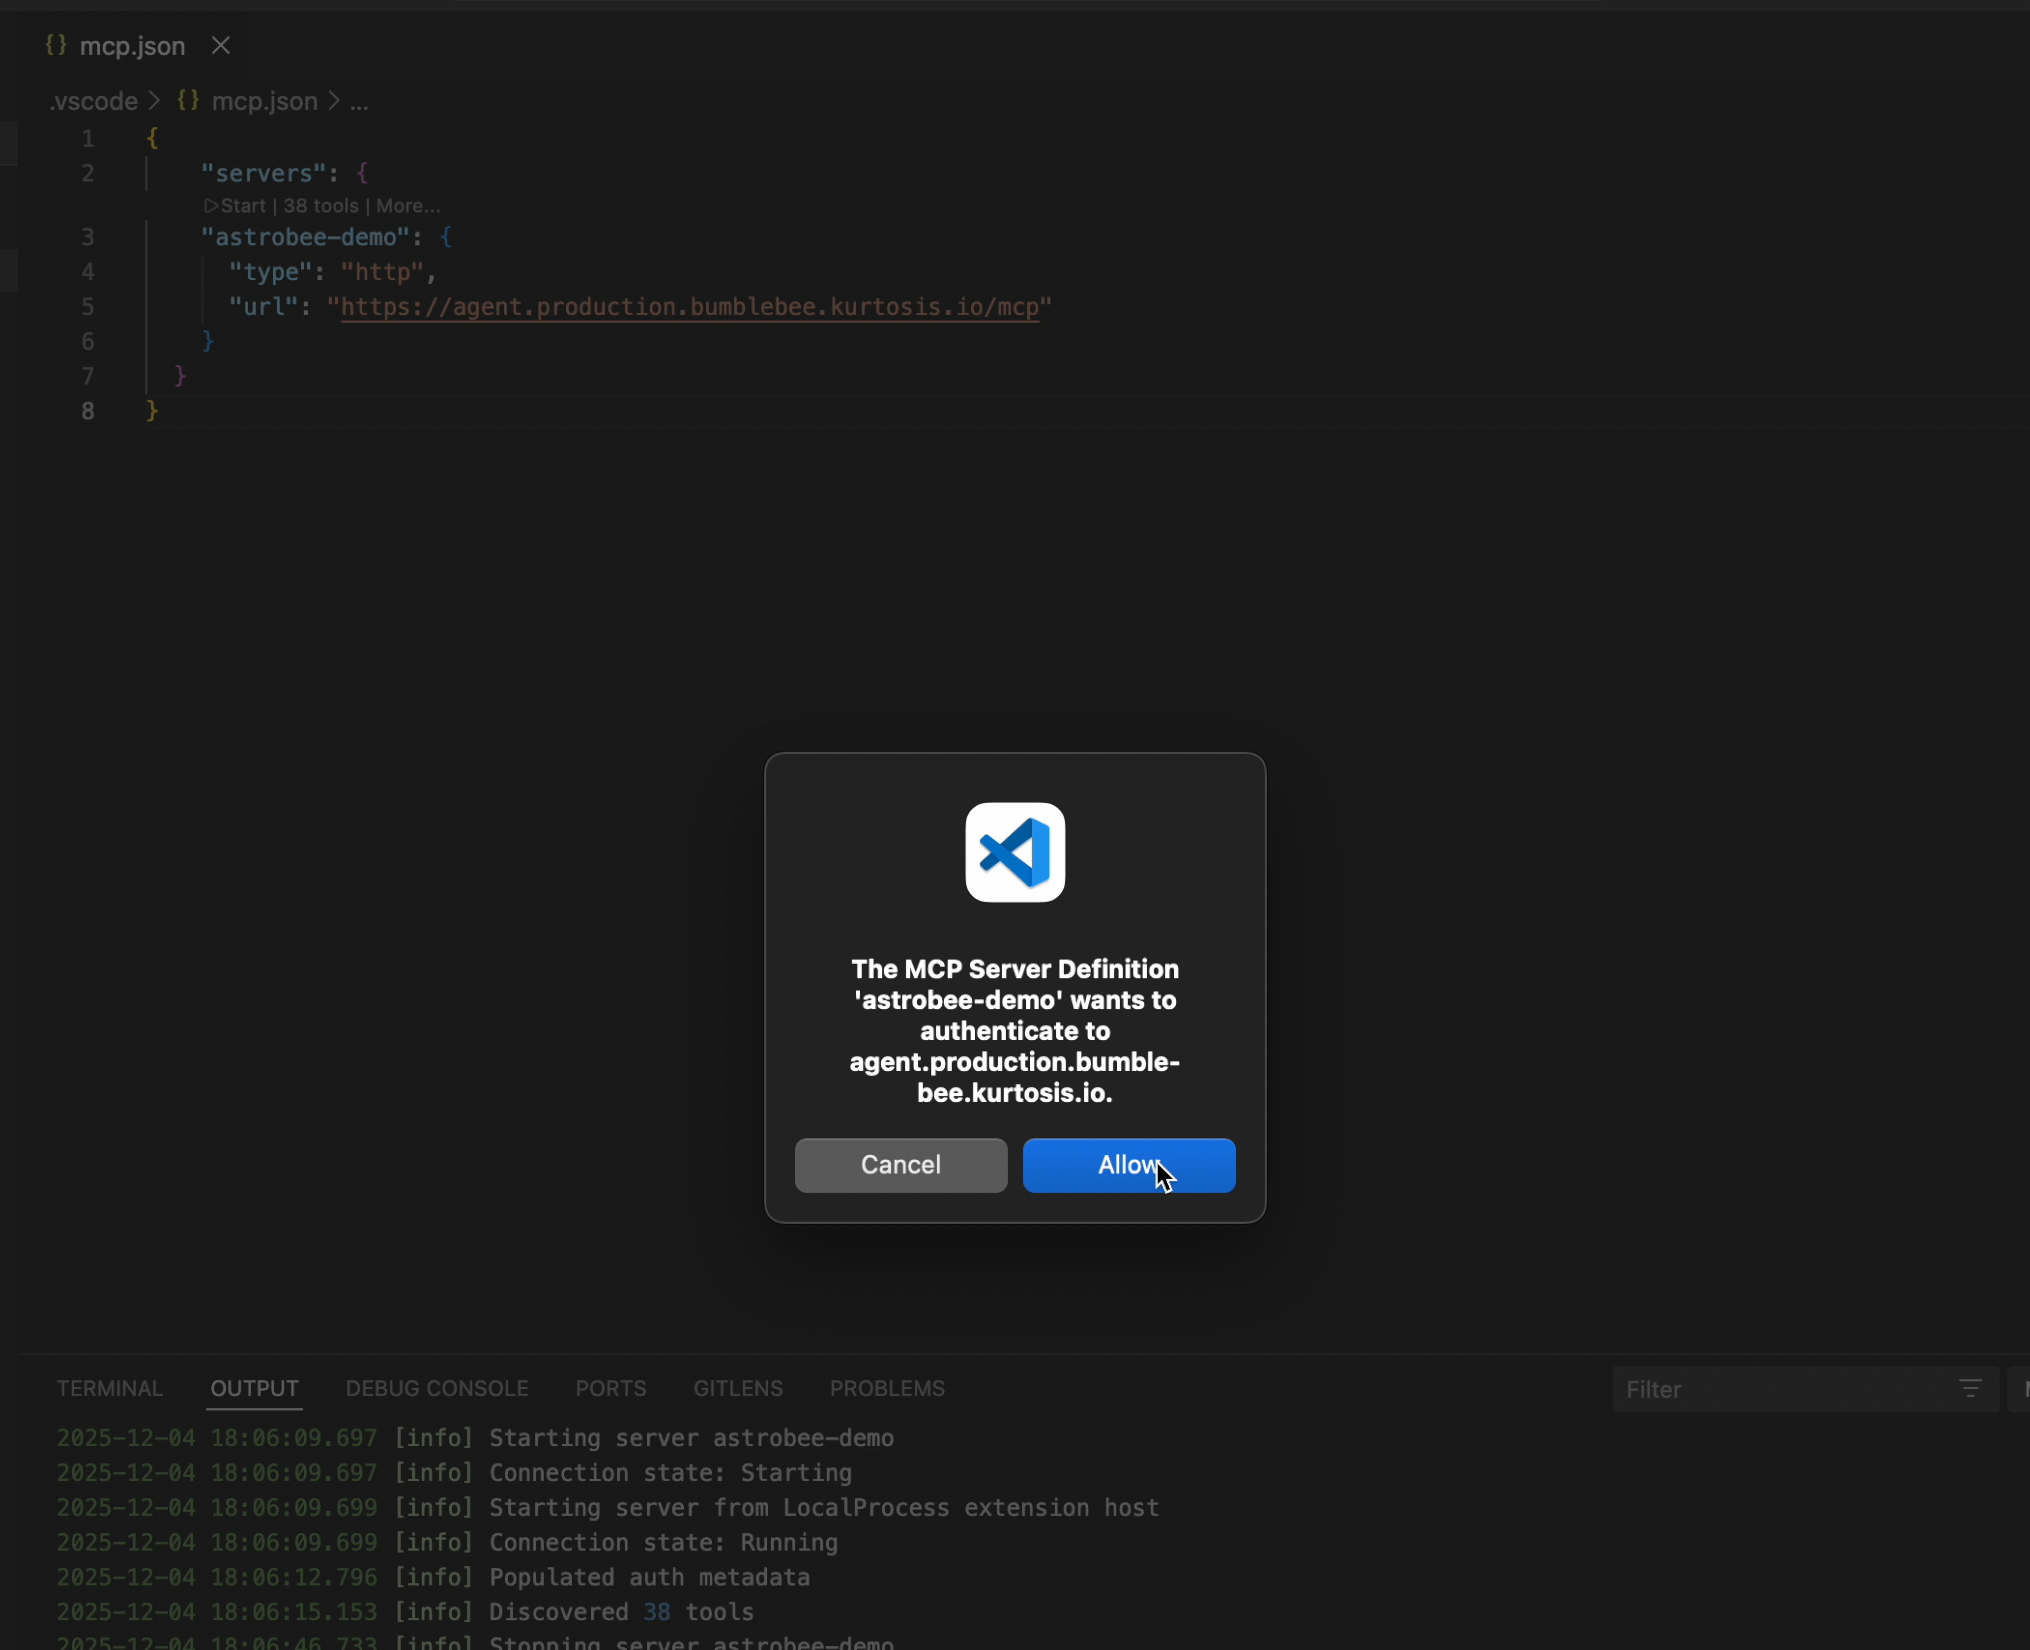
Authorize AstroBee
Your browser opens with the AstroBee authorization screen. Select the Google account associated with your AstroBee account and sign in.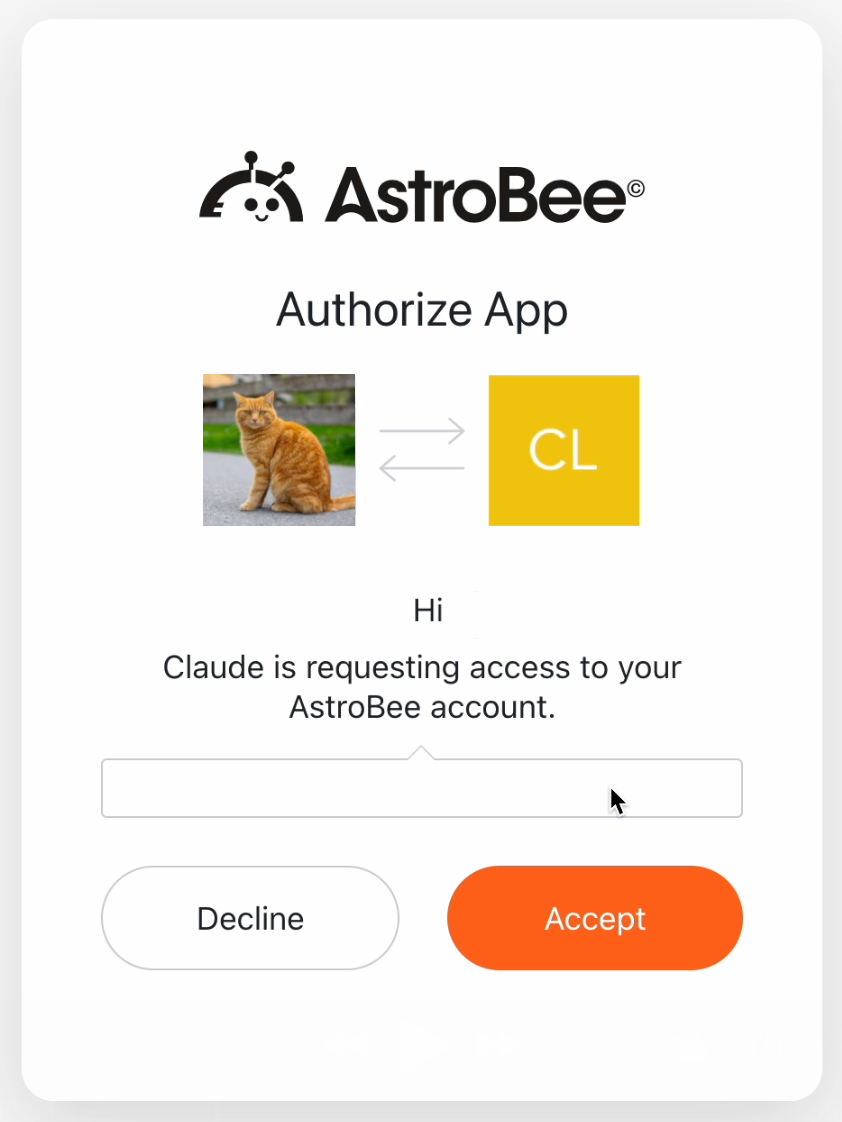
Authorize GitHub
Complete the GitHub OAuth flow to finalize the connection between VS Code, GitHub Copilot, and AstroBee.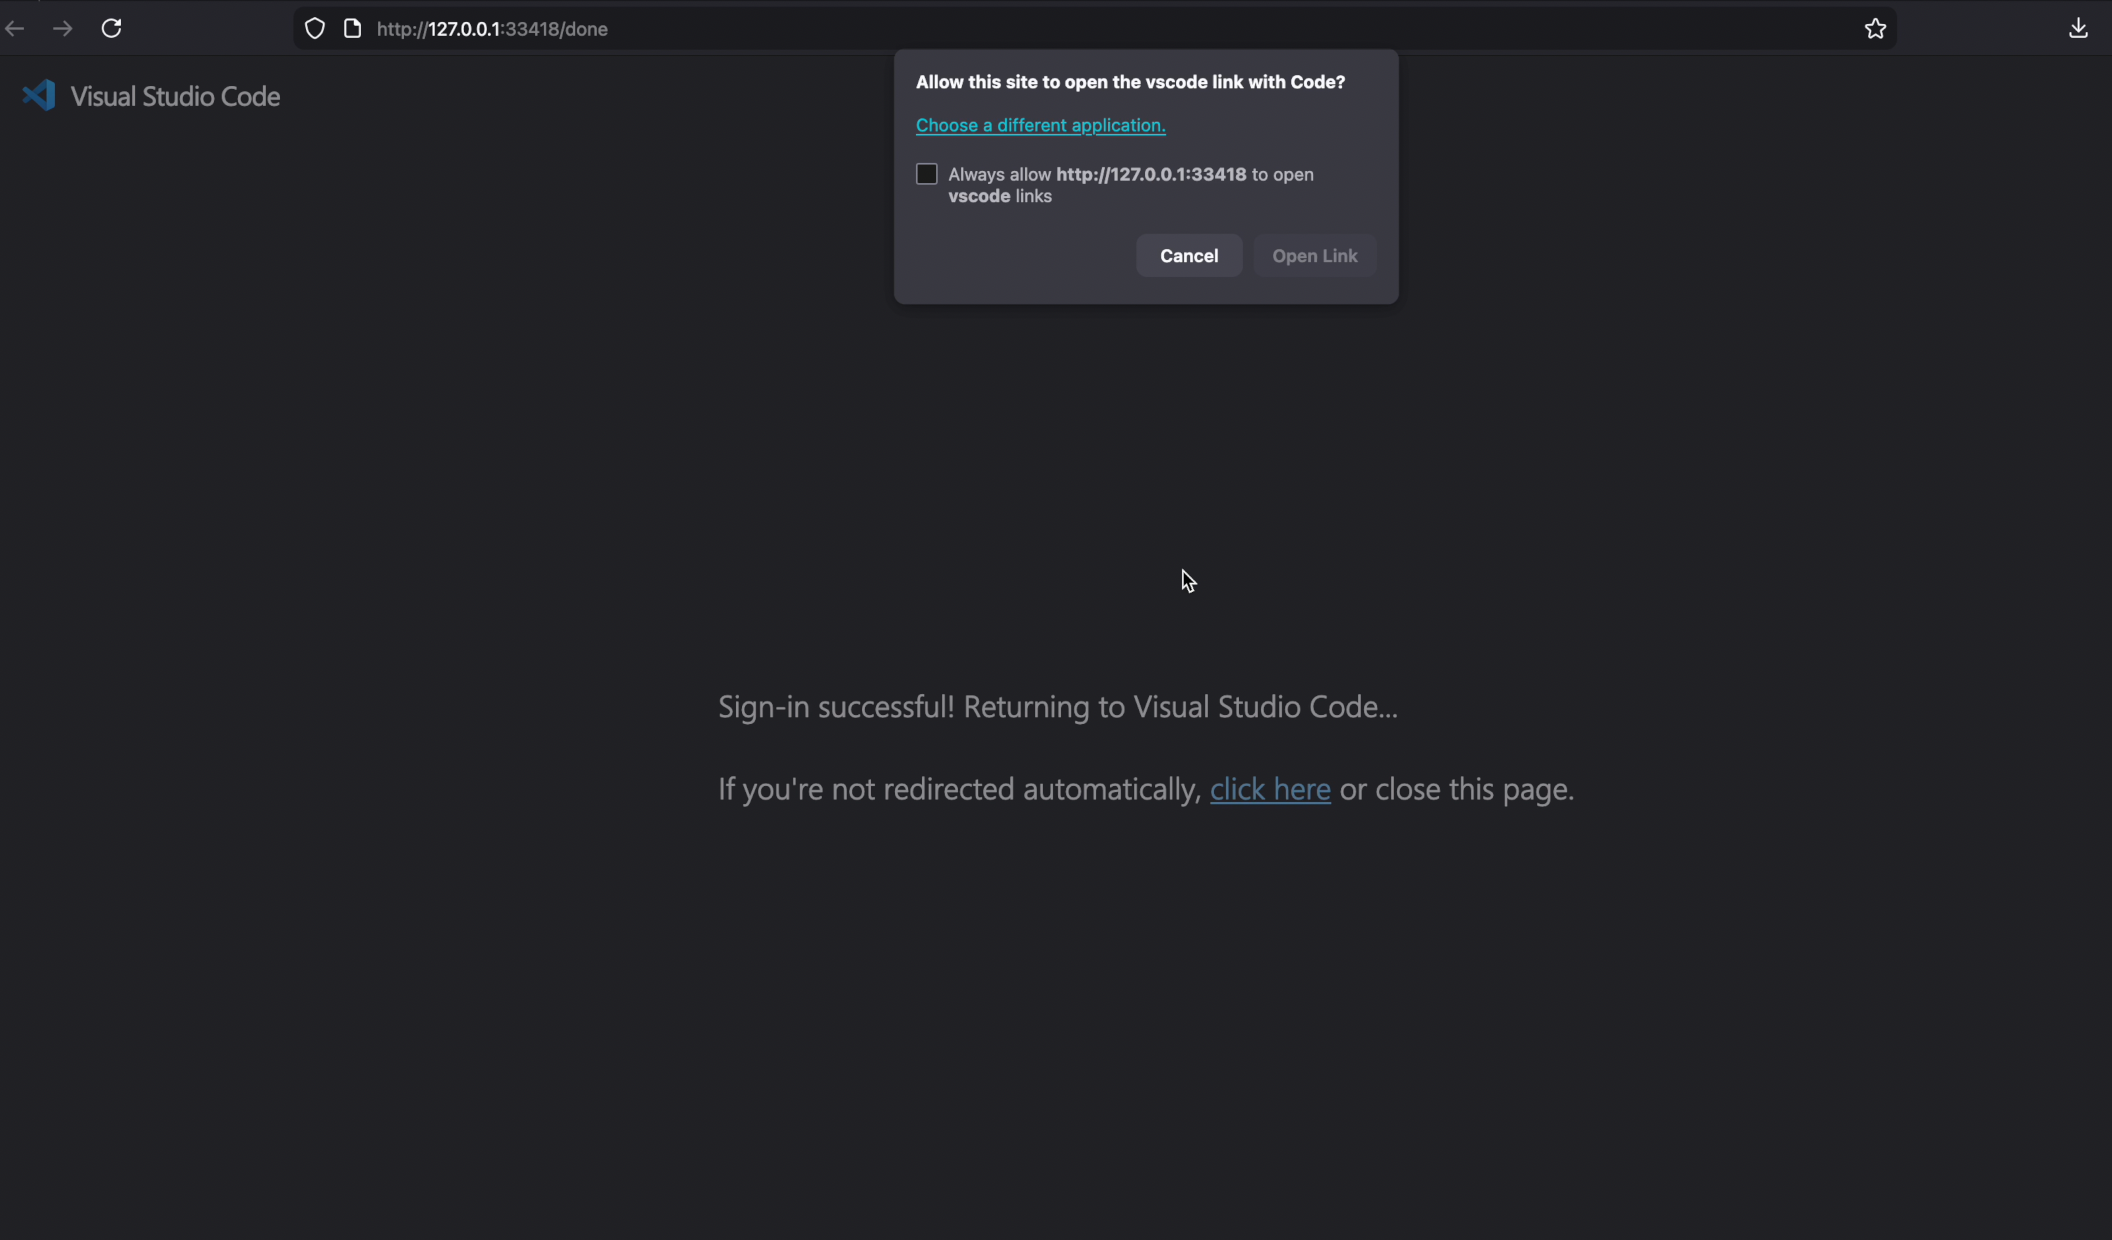
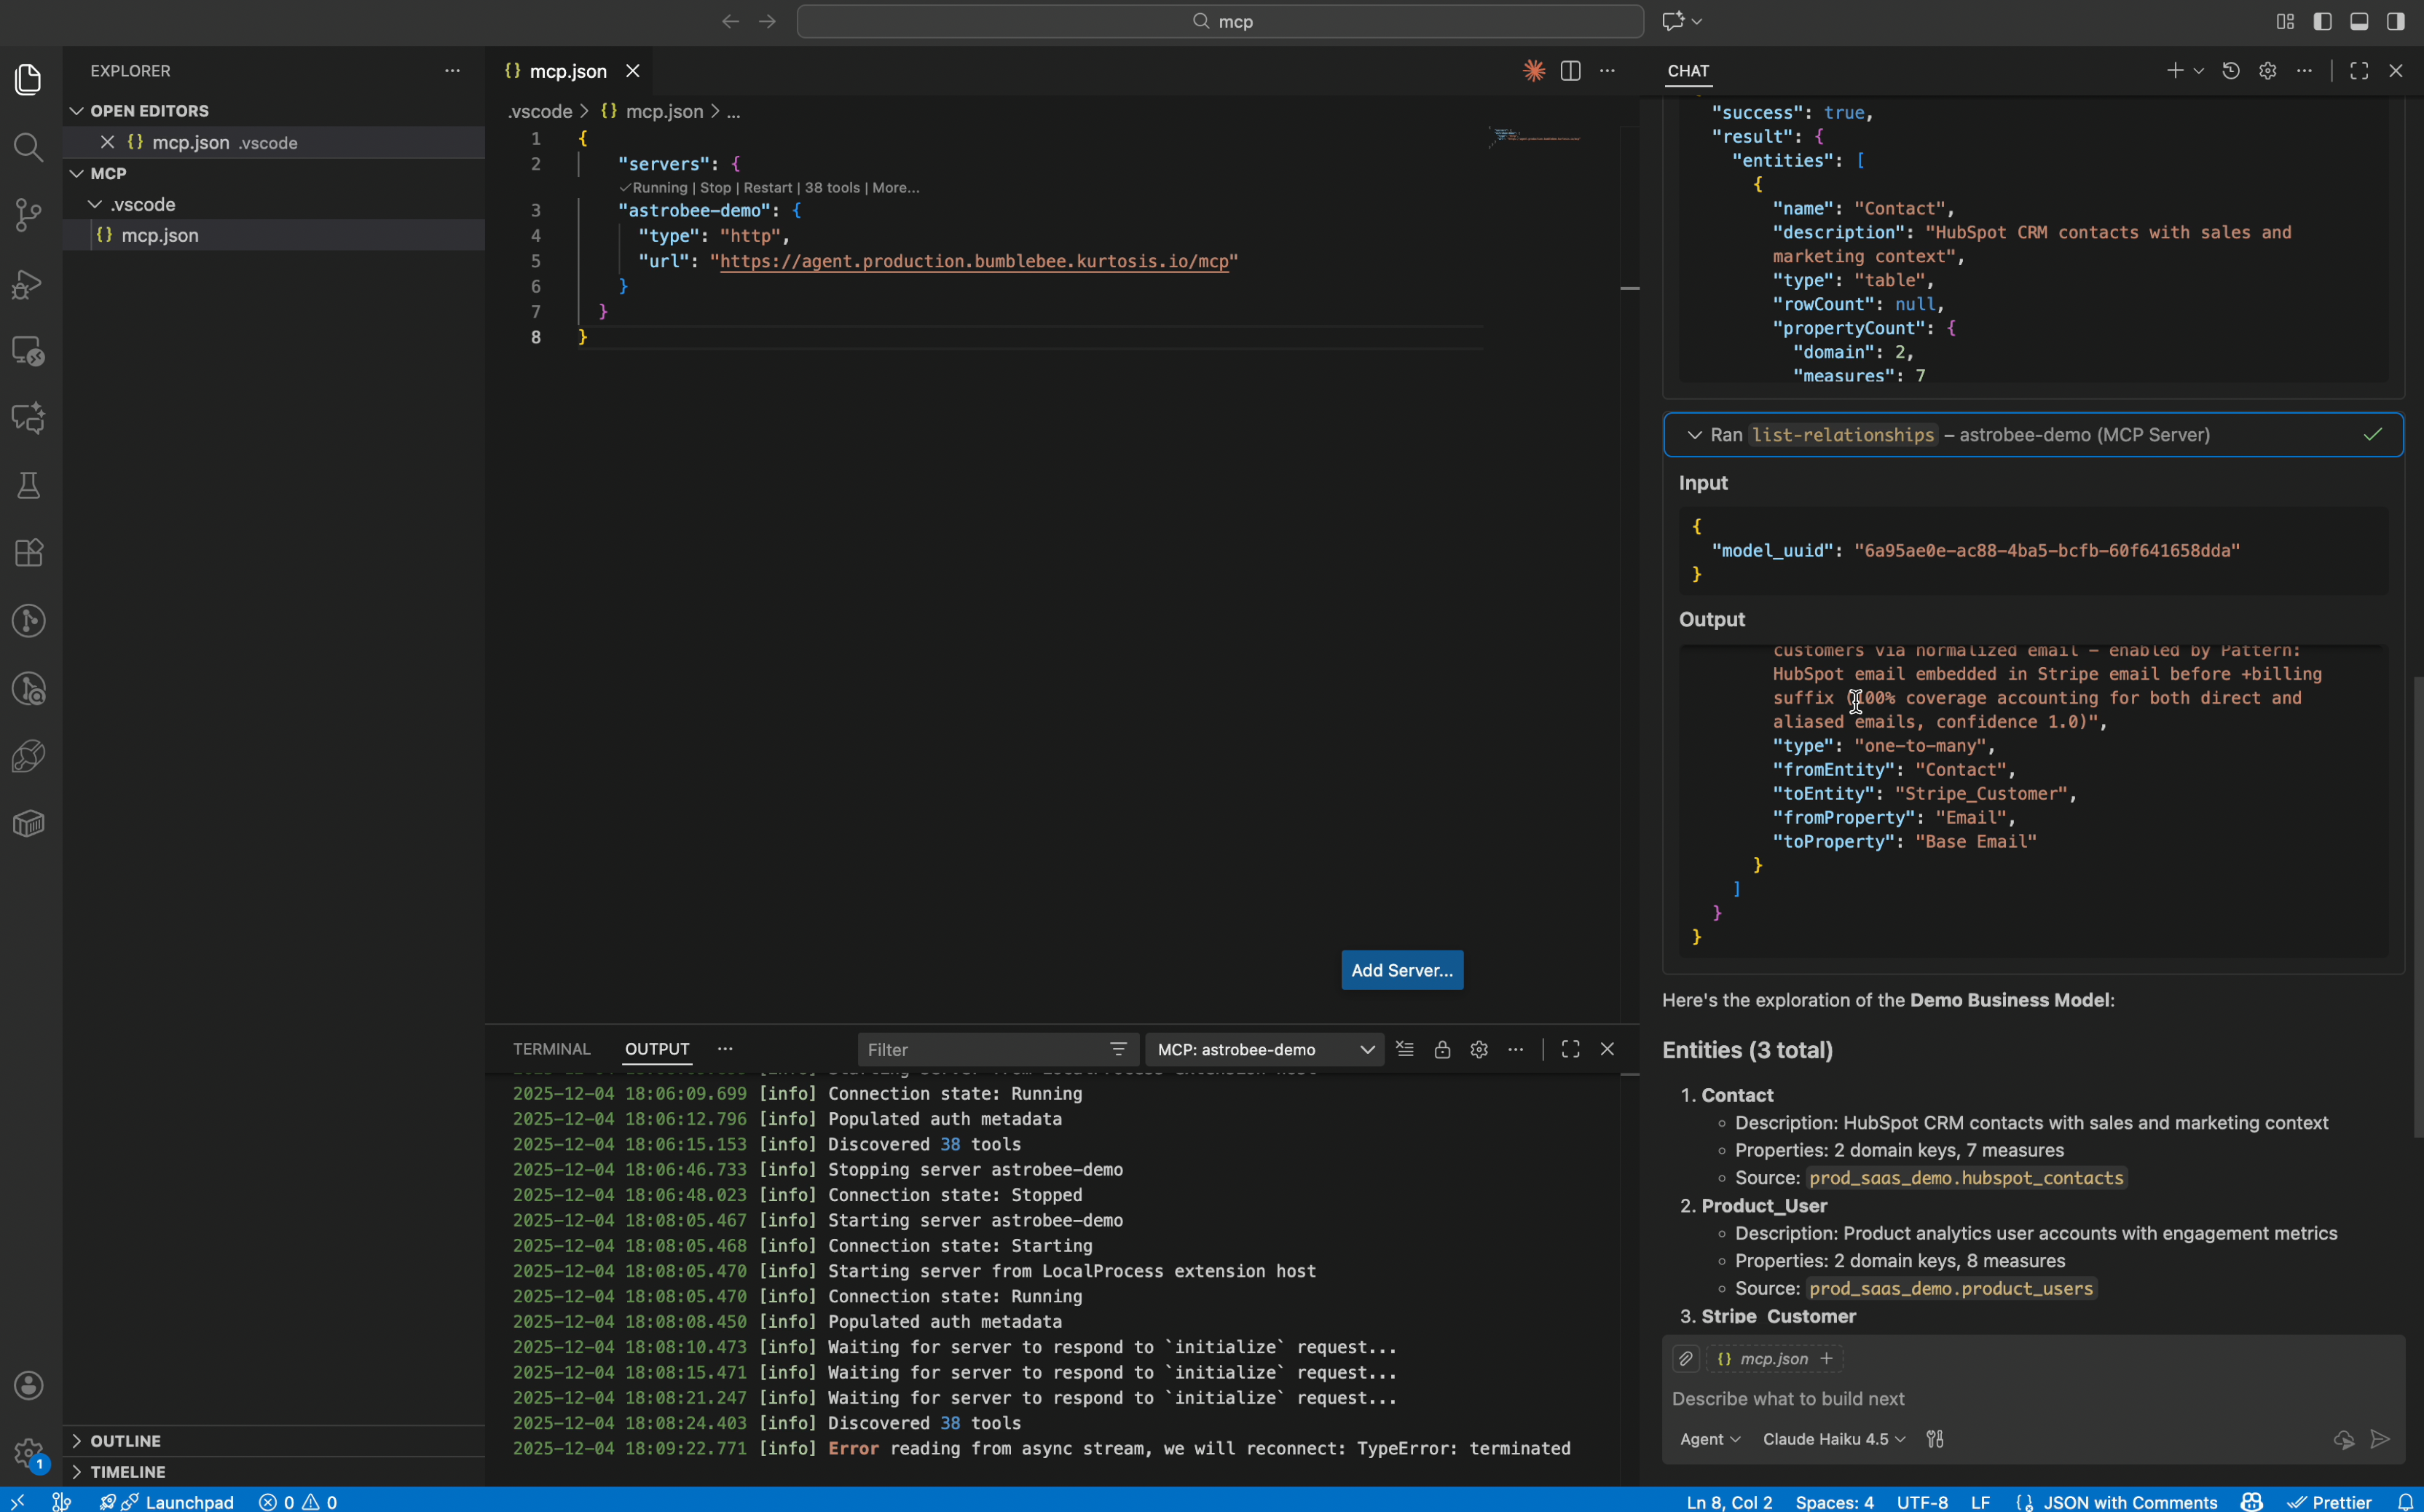
Start exploring your data
Open the GitHub Copilot Chat view using the keyboard shortcut:- Mac:
⌃⌘I - Windows/Linux:
Ctrl+Alt+I
How it works
When you ask a question, GitHub Copilot:- Uses
list-ontologiesto see your available data layers - Uses
list-entitiesandlist-relationshipsto understand the data structure - Uses
execute-sqlto query your data - Formats the results and generates visualizations
Troubleshooting
MCP server fails to start
MCP server fails to start
If the server doesn’t start after clicking Start server:
- Verify the
mcp.jsonfile is correctly formatted with valid JSON - Check that you’re using the correct URL:
https://agent.production.bumblebee.kurtosis.io/mcp - Try reloading VS Code completely (close and reopen)
- Ensure you have an active GitHub Copilot subscription
- Check the Output panel in VS Code for any error messages
Authentication fails or times out
Authentication fails or times out
If you see authentication errors during the connection process:
- Make sure you’re logged into your AstroBee account at app.astrobee.ai
- Check that pop-ups are allowed in your browser for the authentication flow
- Verify your firewall or security software isn’t blocking the connection
- Try disconnecting and reconnecting the MCP server in VS Code
- Ensure you clicked Accept on all authorization screens (AstroBee and GitHub)
Copilot says 'No models found' or can't access data
Copilot says 'No models found' or can't access data
If GitHub Copilot reports that you don’t have any data layers:
- Complete the quickstart to create the demo data layer first
- Verify you can see your data layer at app.astrobee.ai
- Make sure you’re using the same AstroBee account in both VS Code and the web app
- Check that your data layer has completed generation and is not in a pending state
- Try restarting the MCP server in VS Code
MCP tools not available in Copilot chat
MCP tools not available in Copilot chat
If the AstroBee tools don’t appear when asking questions:
- Verify the MCP server shows as running in VS Code
- Check that GitHub Copilot is properly activated (look for the Copilot icon in the status bar)
- Try opening a new chat session (Copilot may need to refresh available tools)
- Restart VS Code completely to reload the MCP configuration
- Ensure your GitHub Copilot subscription is active and not expired