Supported Formats
| Format | Extensions | Max Size |
|---|---|---|
| CSV | .csv | 300 MB |
| Excel | .xlsx, .xls | 300 MB |
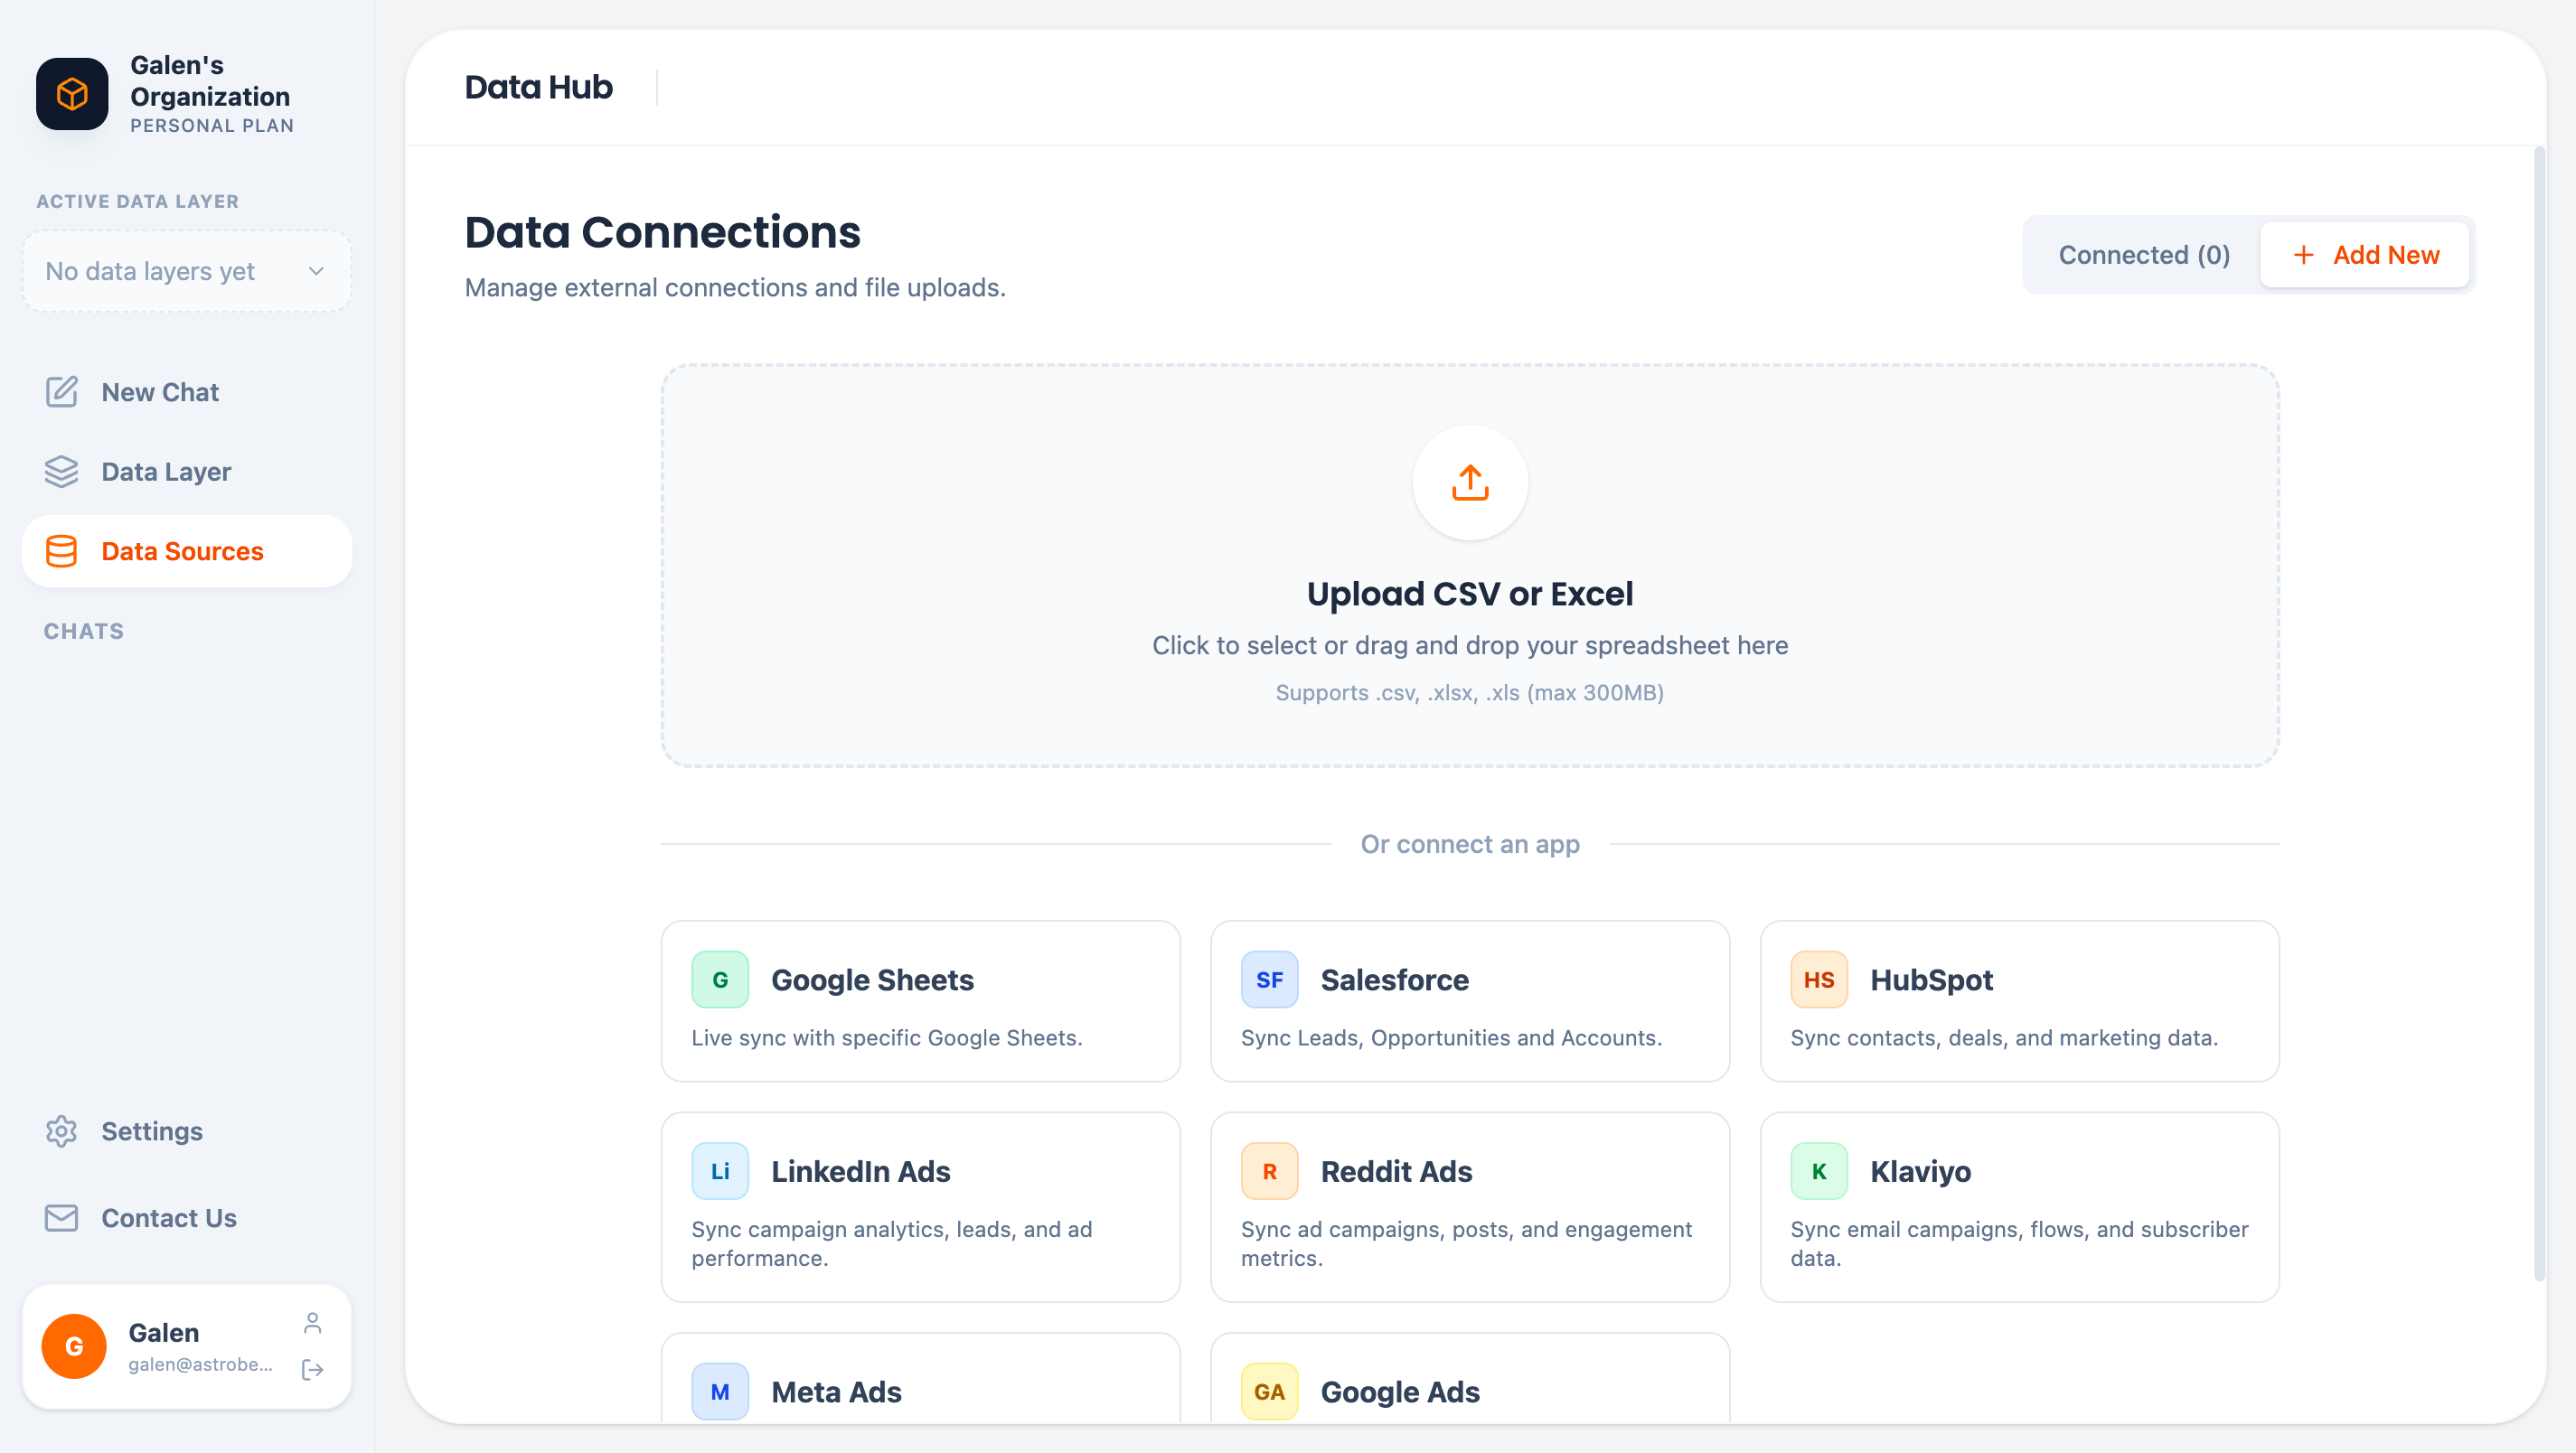
Uploading Files
- Navigate to Data Sources in the sidebar
- Click Add New
- Drag and drop files into the upload zone, or click to browse
Multiple Files
Upload multiple files at once to create a data source with multiple tables. Each file becomes a separate table.Excel Workbooks
For Excel files with multiple sheets, each sheet becomes a separate table within the data source.After Upload
Once uploaded, AstroBee:- Parses the file — Reads rows and columns
- Detects types — Identifies strings, numbers, dates, etc.
- Analyzes patterns — Discovers ID formats, email patterns, etc.
- Finds linkages — Identifies potential relationships between tables
Data Type Detection
AstroBee automatically detects column types:| Detected Type | Examples |
|---|---|
| String | ”John Smith”, “Active”, “SKU-123” |
| Integer | 42, 100, -5 |
| Float | 19.99, 3.14159 |
| Date | 2024-01-15, 01/15/2024 |
| Datetime | 2024-01-15 14:30:00 |
| Boolean | true, false, yes, no |
Best Practices
Use headers
Use headers
Include column headers in the first row. AstroBee uses these as field names.
Consistent formatting
Consistent formatting
Keep data types consistent within columns. Don’t mix numbers and text.
Meaningful names
Meaningful names
Use descriptive column names like “customer_id” instead of “id1”.
Clean data
Clean data
Remove empty rows and columns before uploading.
UTF-8 encoding
UTF-8 encoding
Save CSV files with UTF-8 encoding for special characters.
Updating Data
File uploads are one-time imports. To update the data:- Prepare your updated file
- Upload it with the same name
- The existing data is replaced
For data that changes frequently, consider using an external connector with automatic sync instead.
Limitations
- Maximum file size: 300 MB
- Maximum rows: No hard limit, but very large files may take longer to process
- Password-protected Excel files are not supported
Next Steps
Preview Your Data
Explore uploaded tables in the Data Hub
Build a Data Layer
Create entities from your uploaded data