


Experimental feature: Mailchimp connector is currently in beta. We’re actively improving sync reliability and adding more features.
Prerequisites
- A Mailchimp account with Manager, Admin, or Owner level access
- Mailchimp account must have campaigns or audience data
Connecting Mailchimp
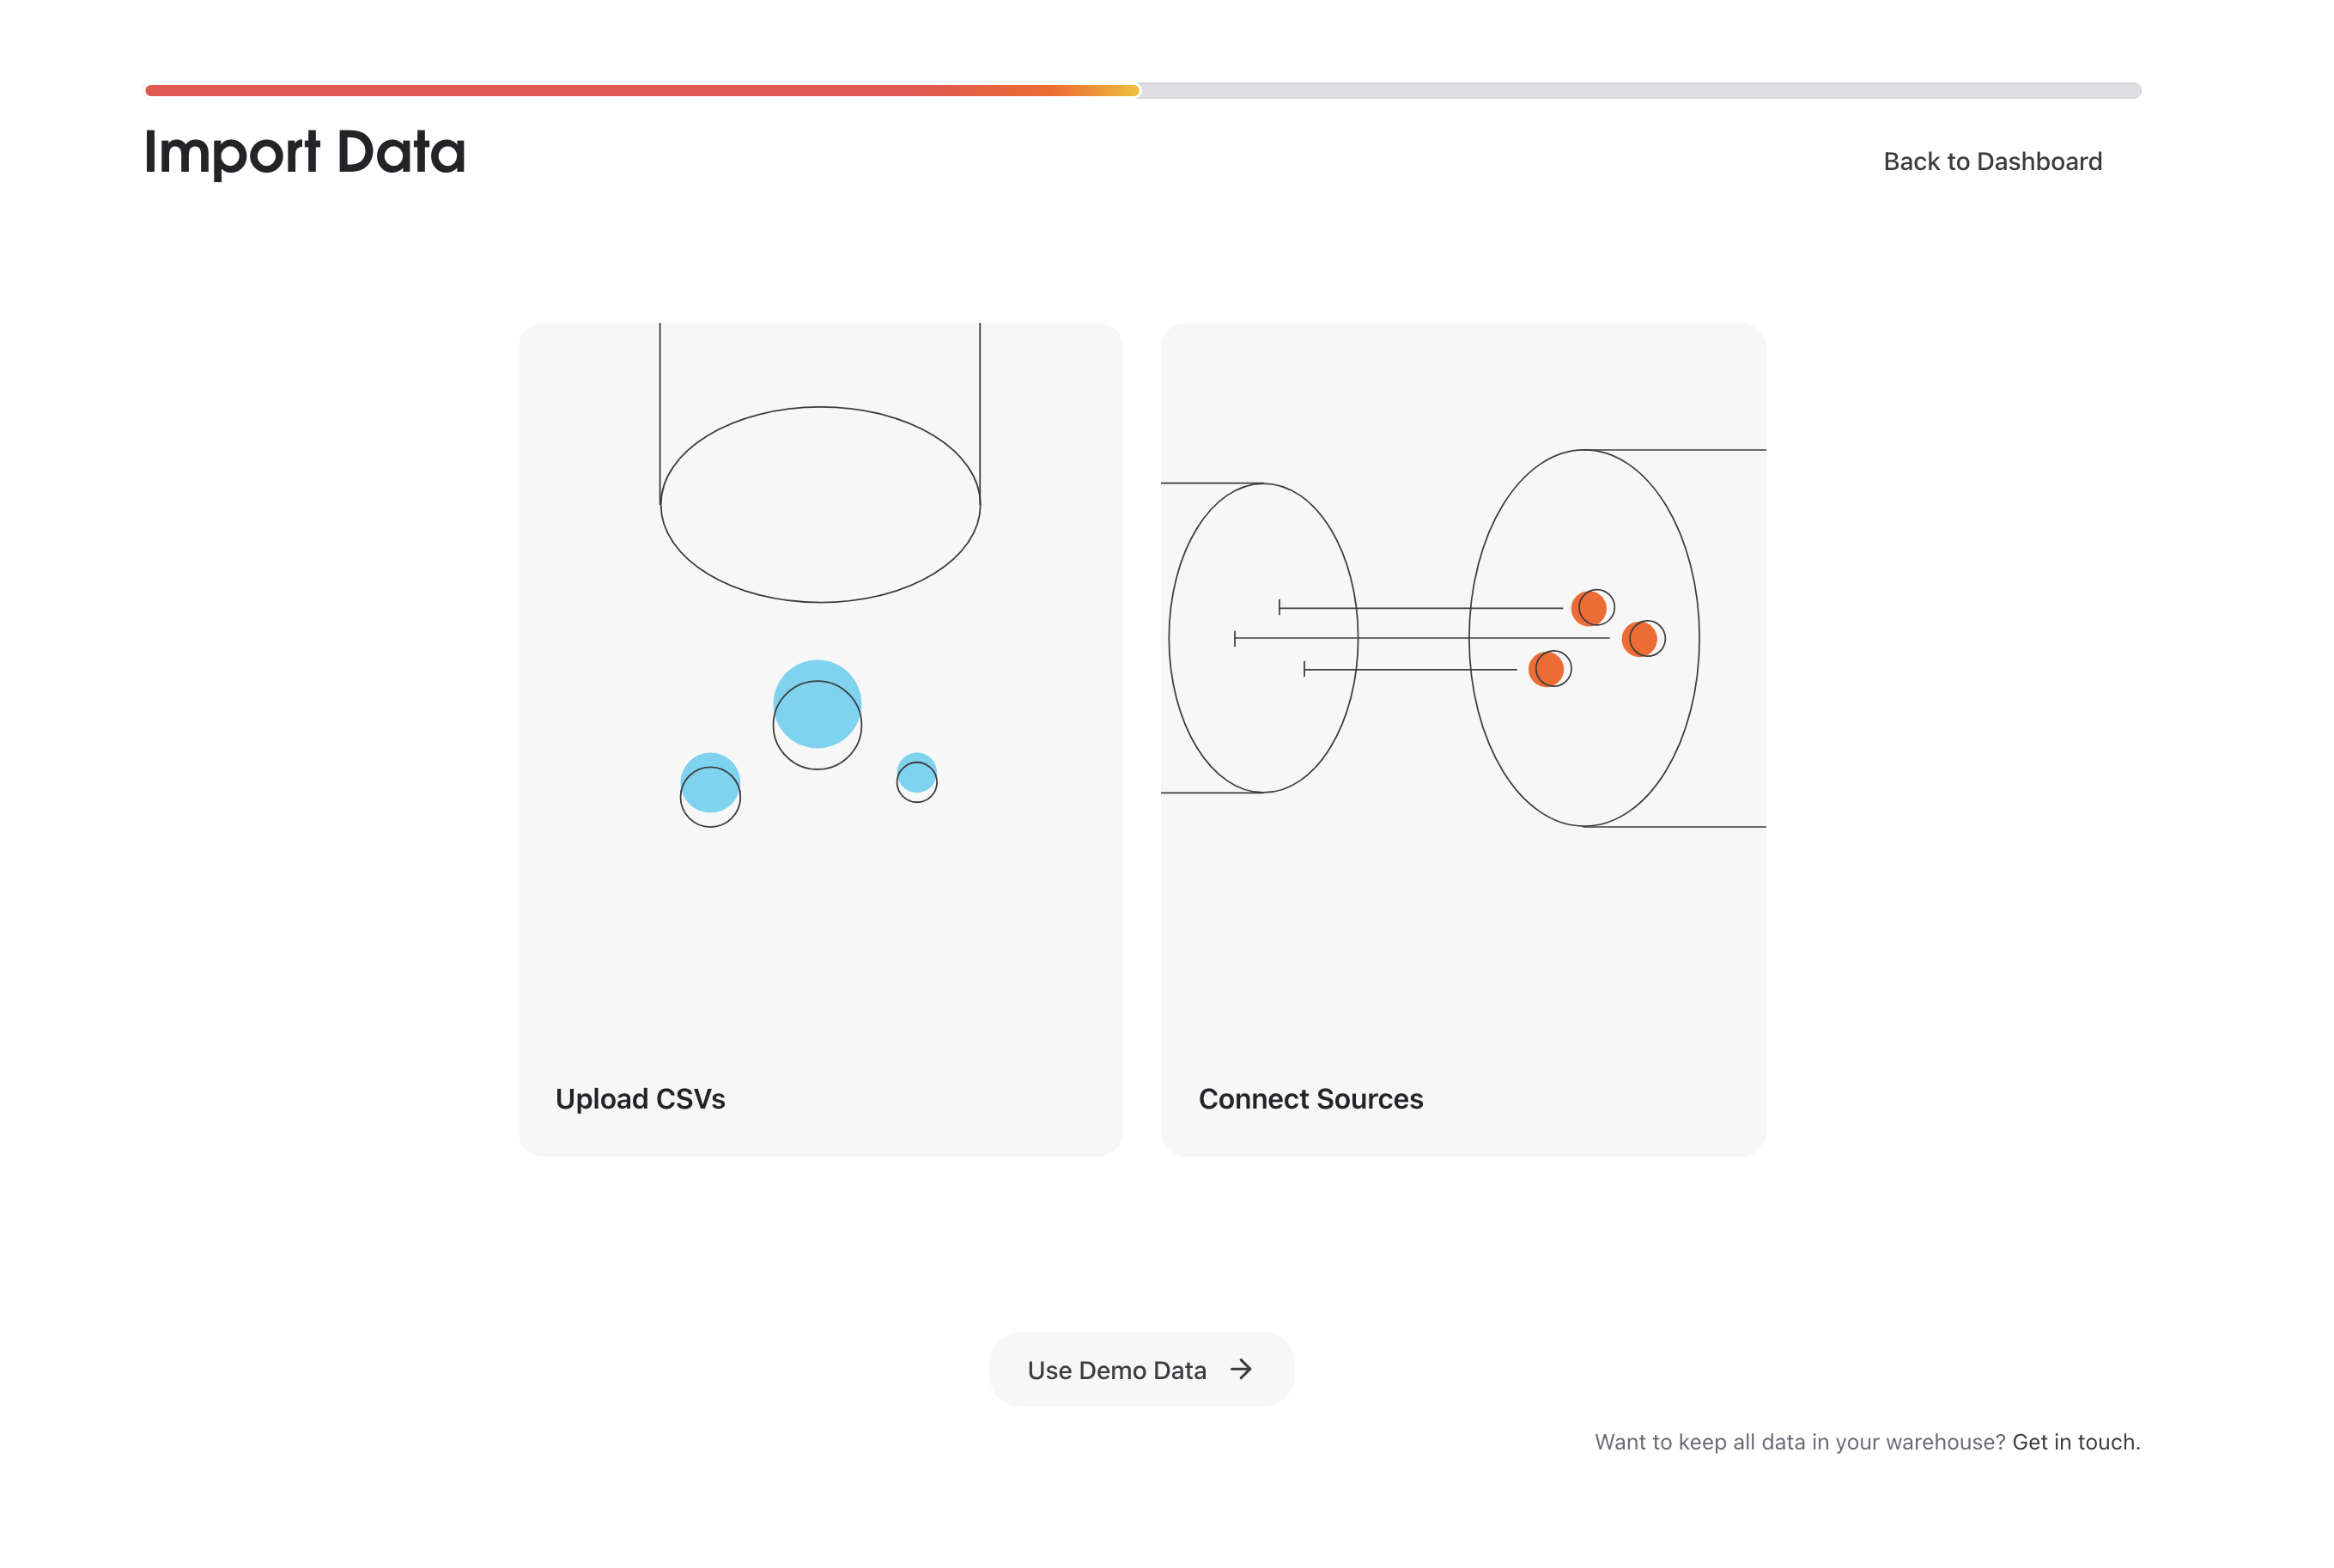
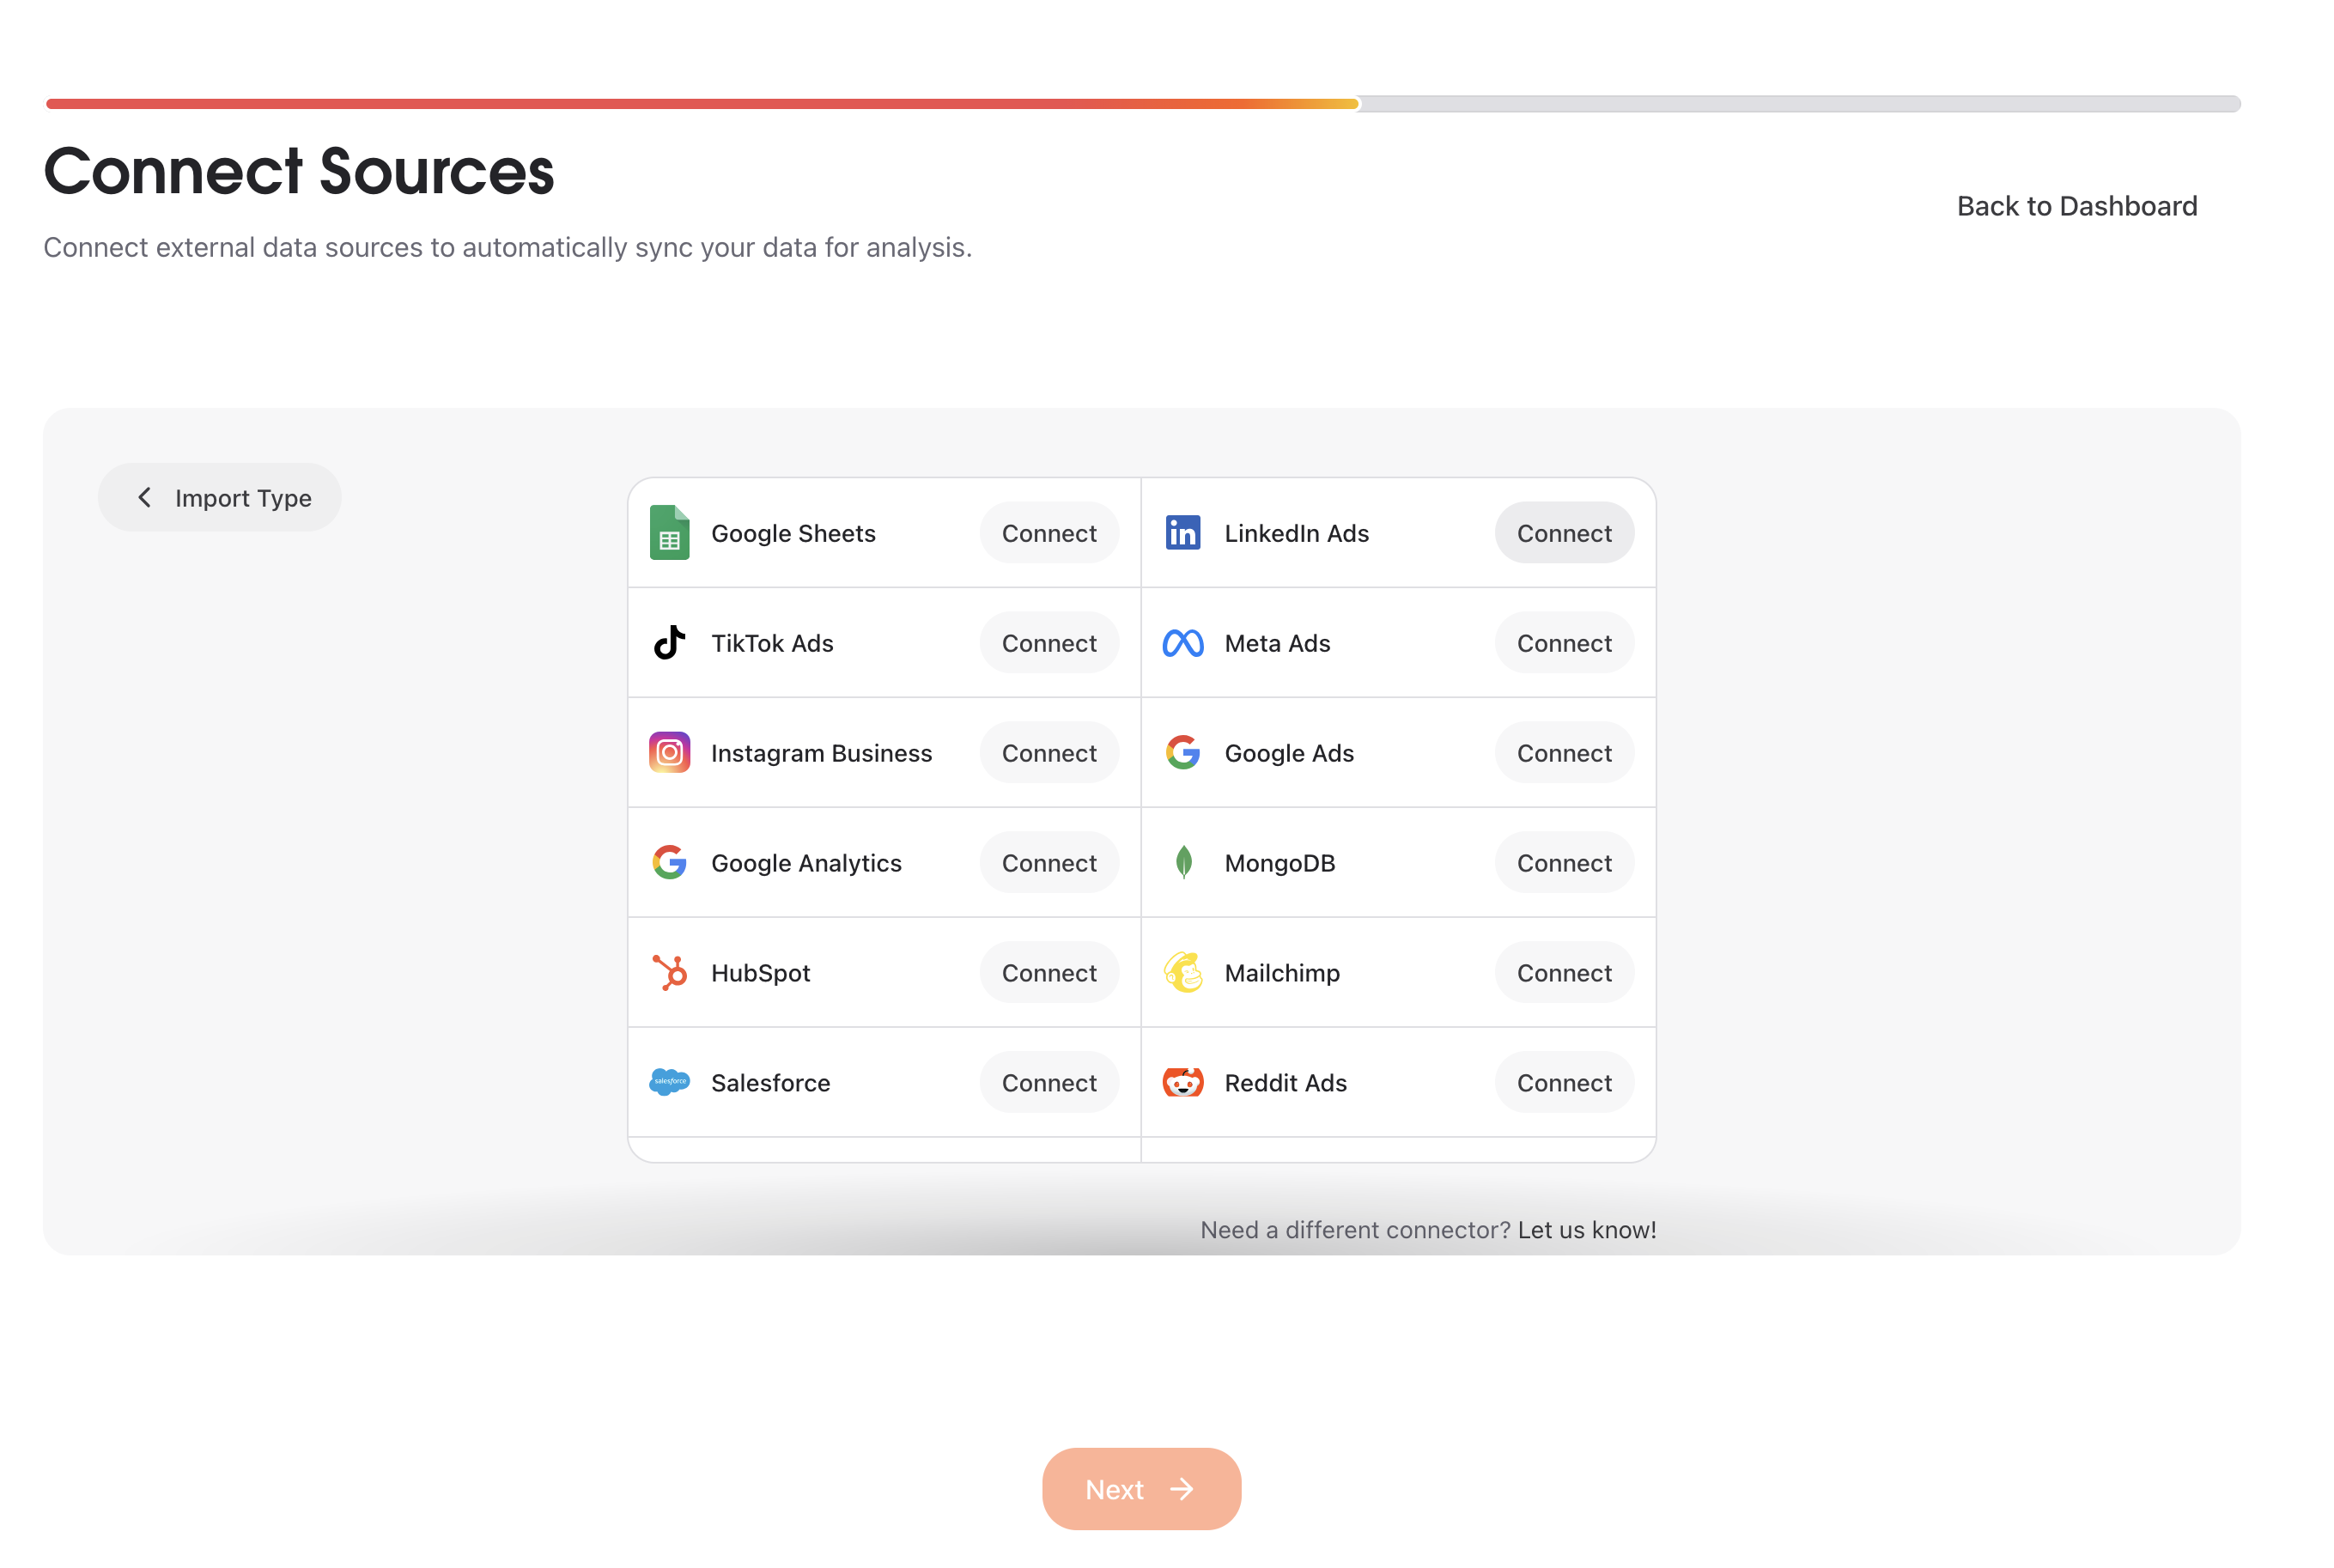
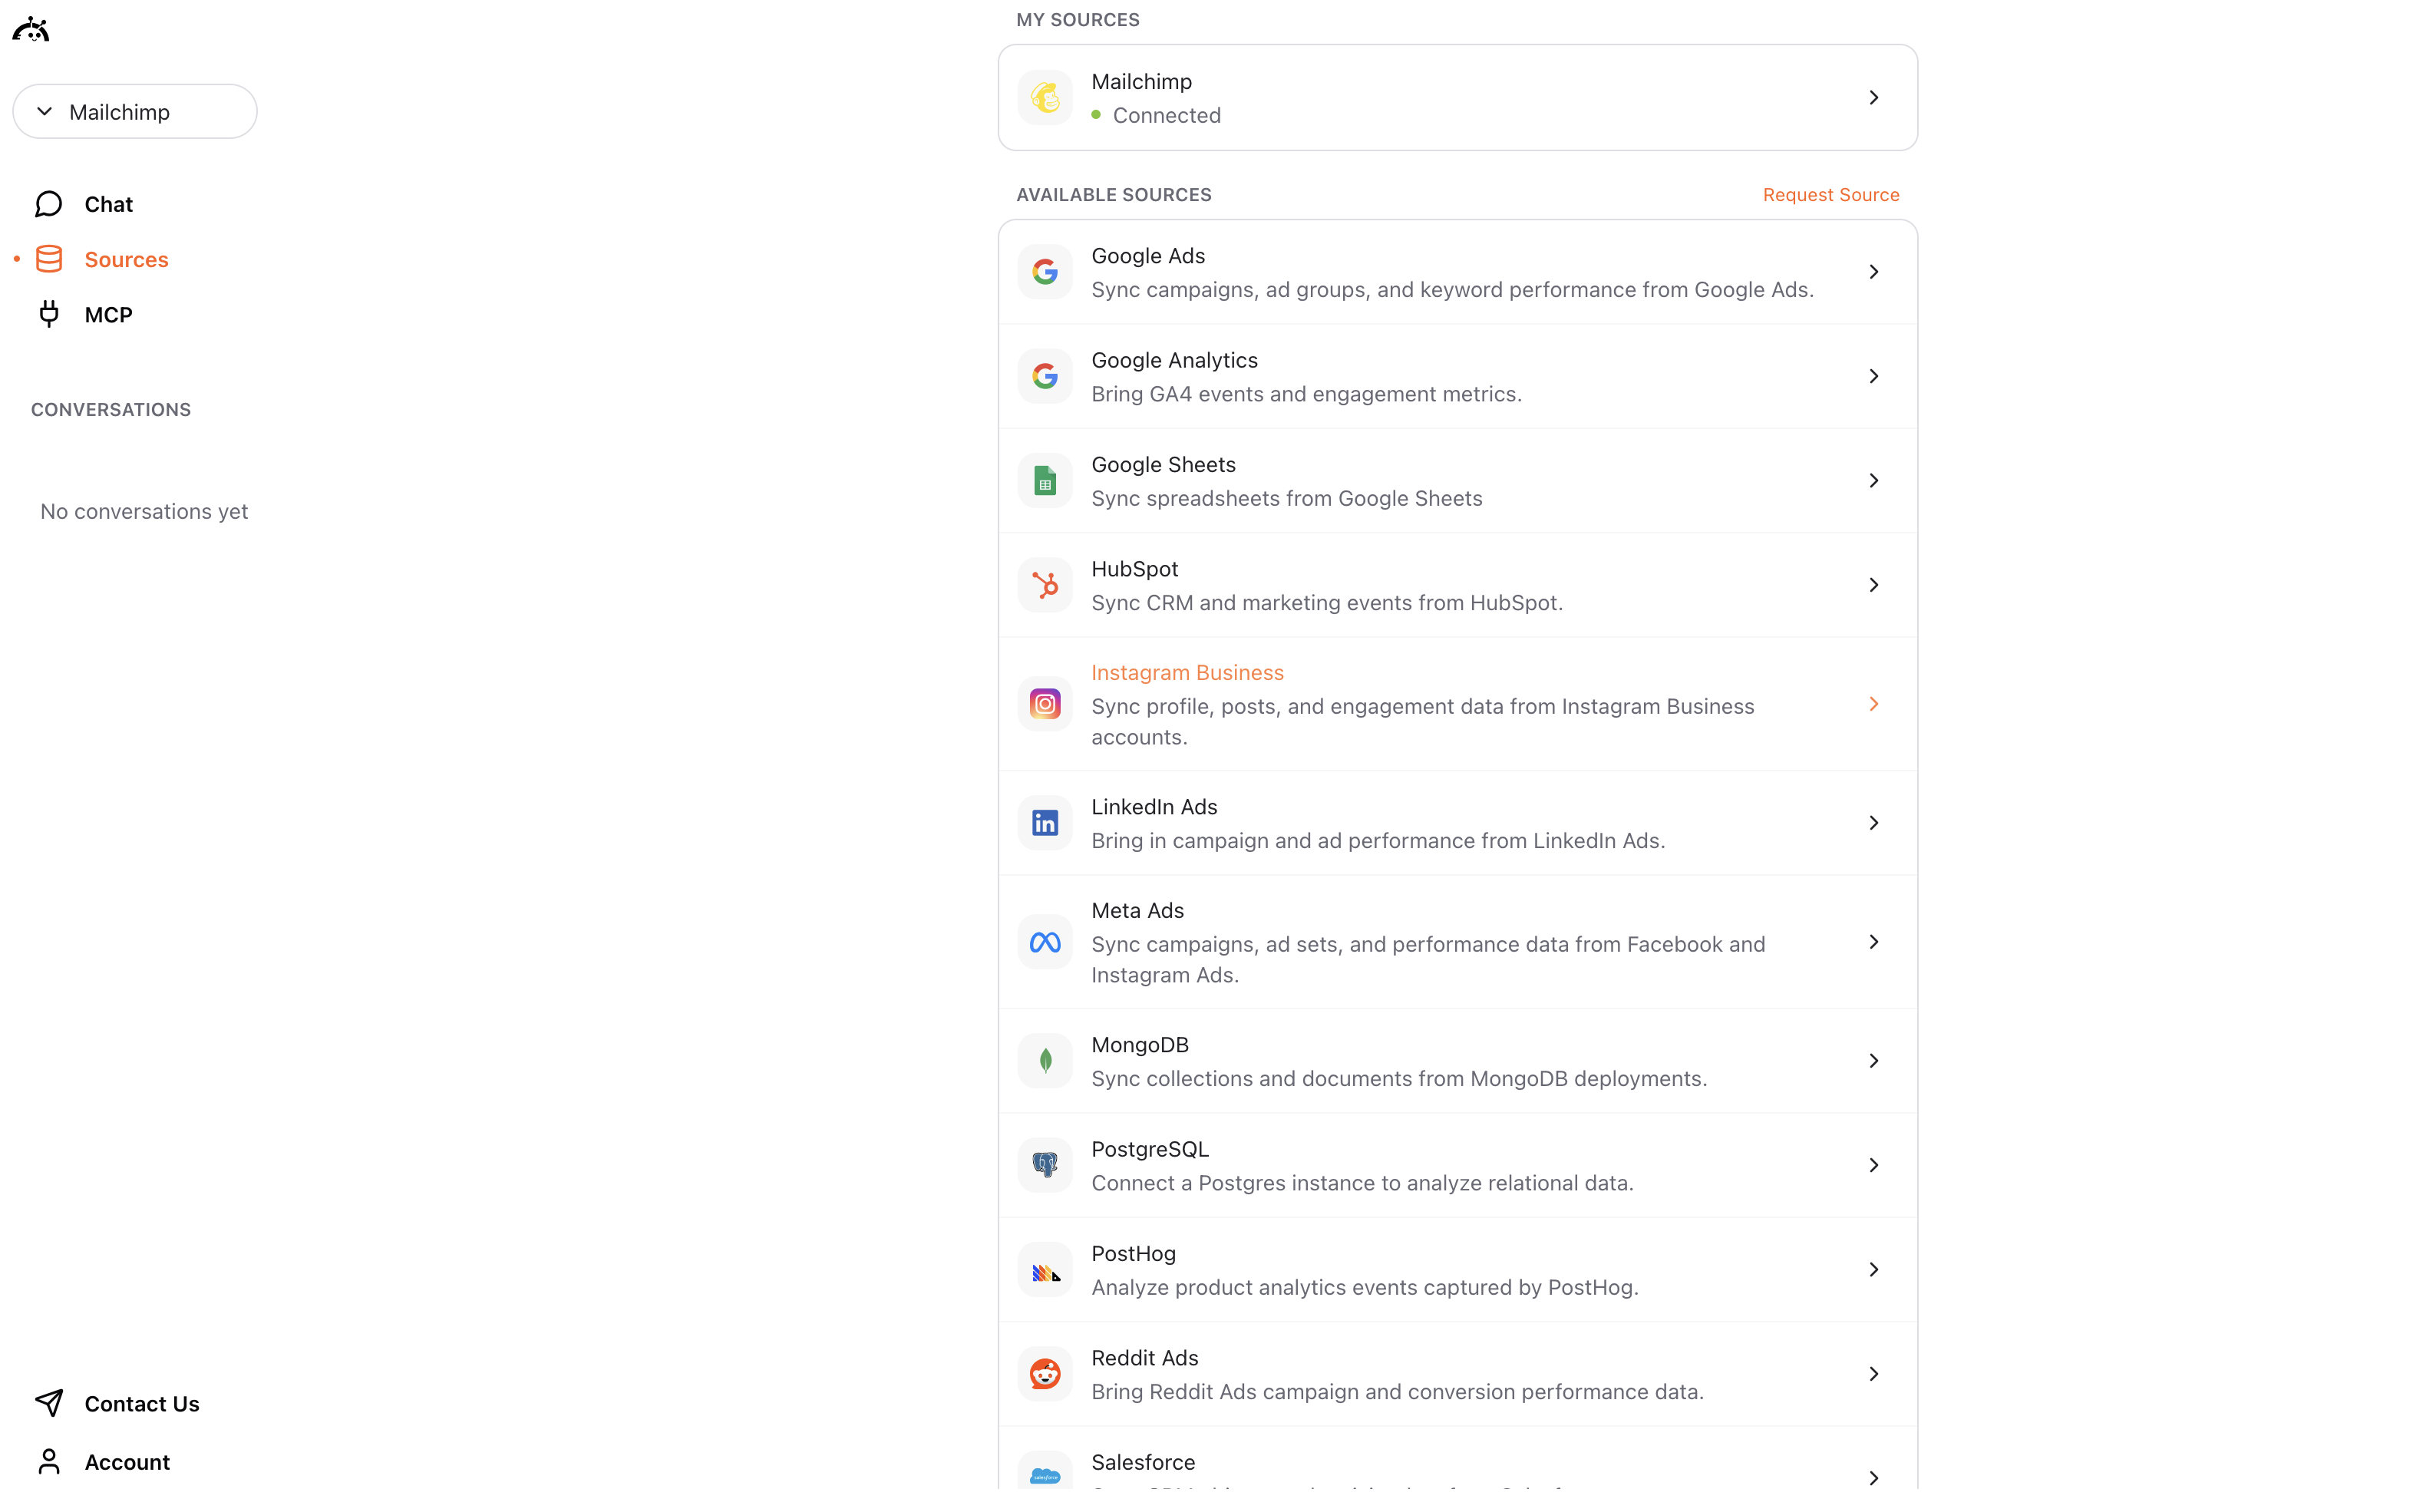
You can connect Mailchimp in two ways: from the Sources page if you’re already using AstroBee, or during the onboarding process if you’re a new user.- During onboarding
- From Sources page
Start connection
A “Configure Connector” modal appears showing “Mailchimp Not Connected”. Click the orange Connect button to begin setup.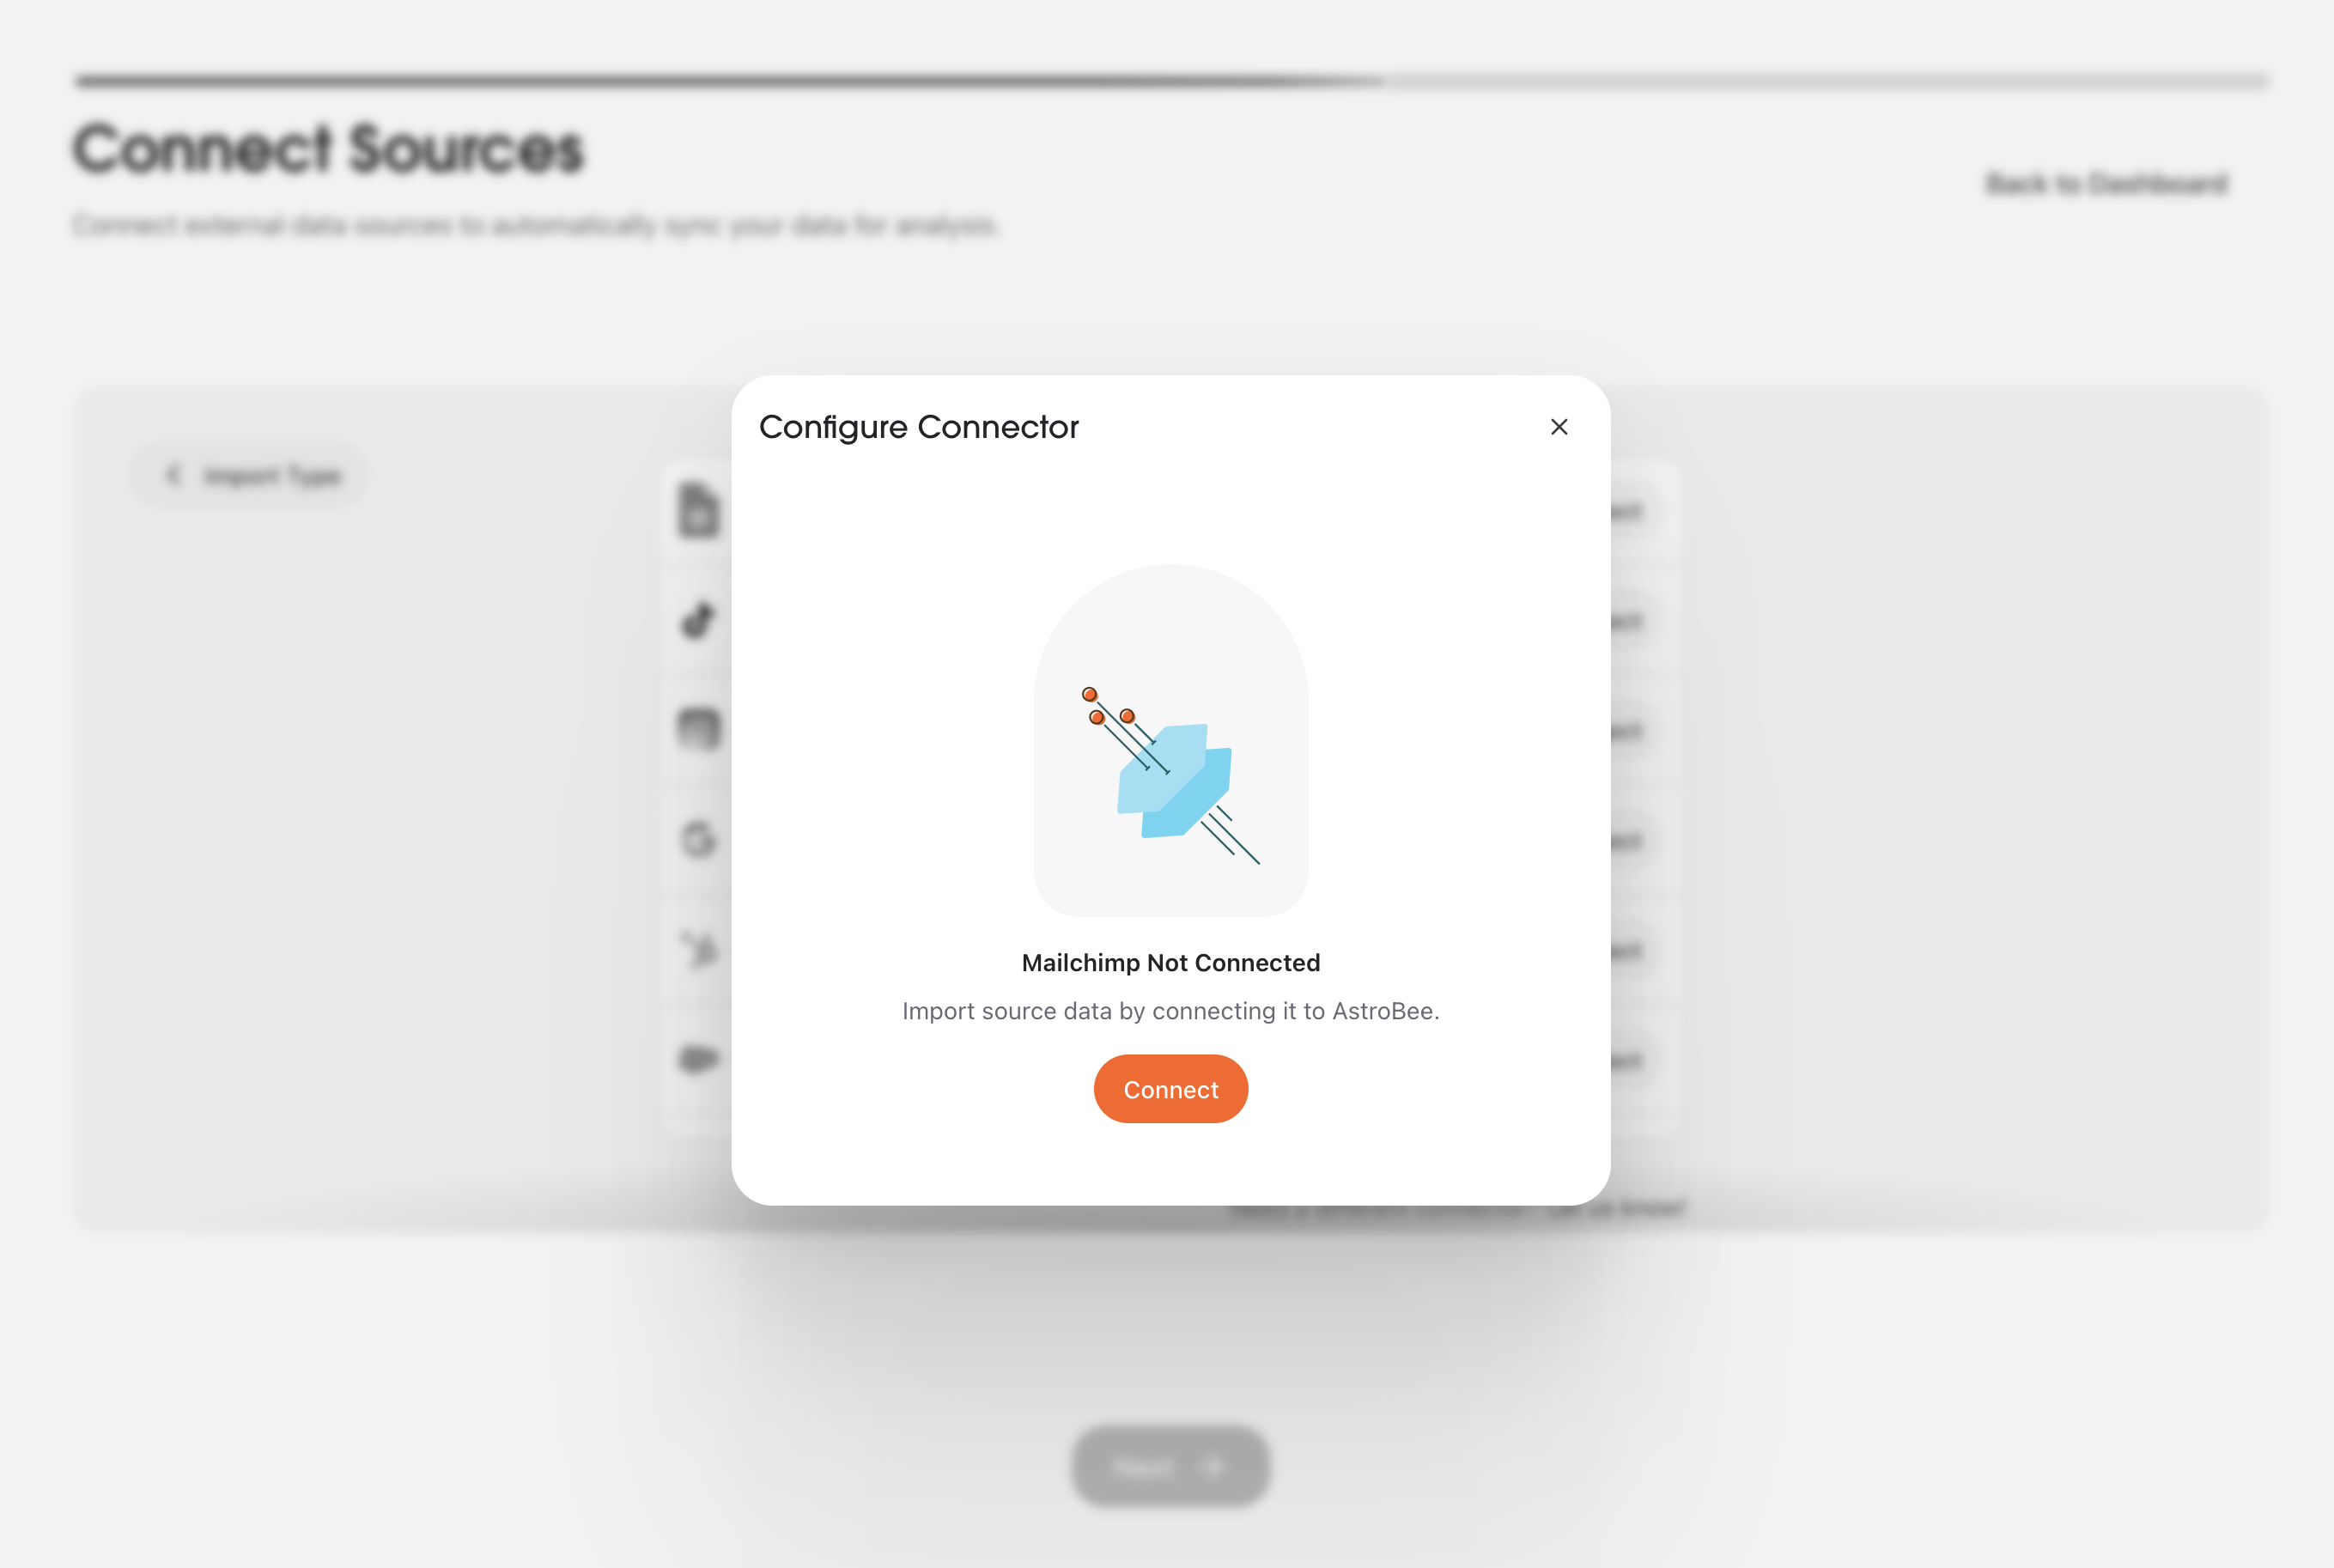
Authorize with Fivetran
AstroBee uses Fivetran to securely connect to Mailchimp. Review the security information and click Continue.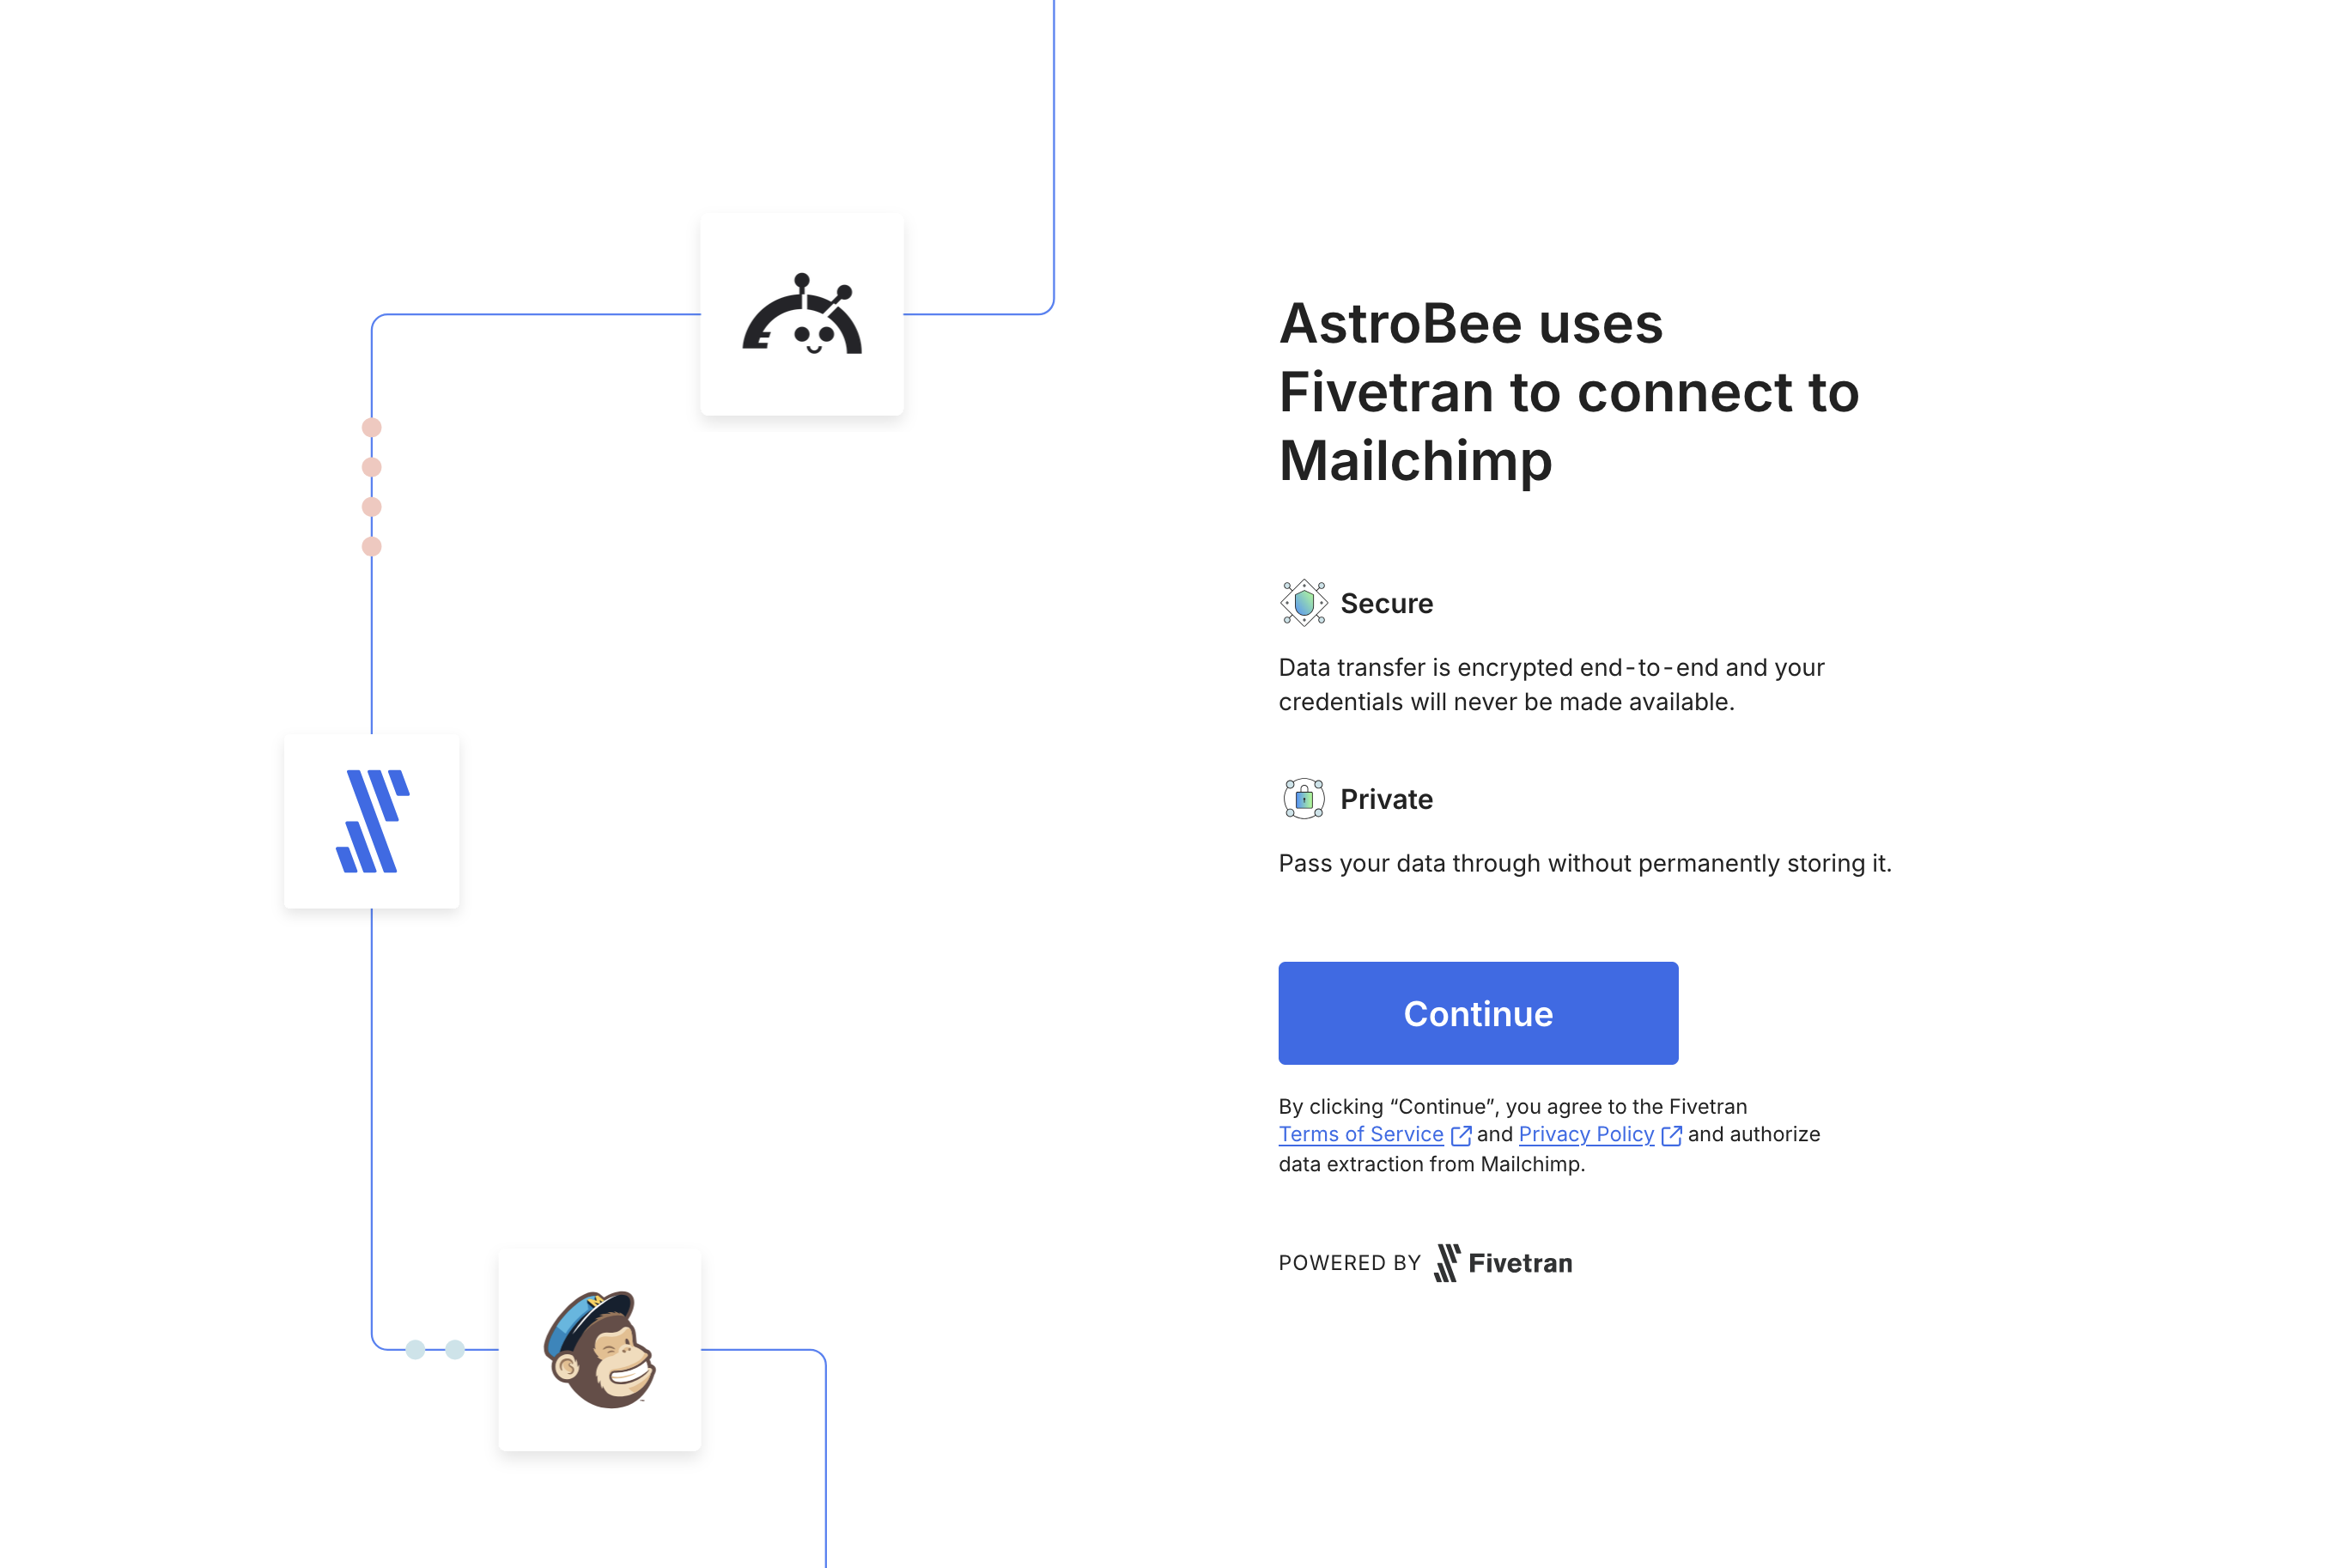
- Secure: Data transfer is encrypted end-to-end and your credentials are never exposed
- Private: Your data passes through without permanent storage
Authenticate with Mailchimp
On the Fivetran setup page, click Authorize to log in through OAuth. You’ll be redirected to Mailchimp to grant access.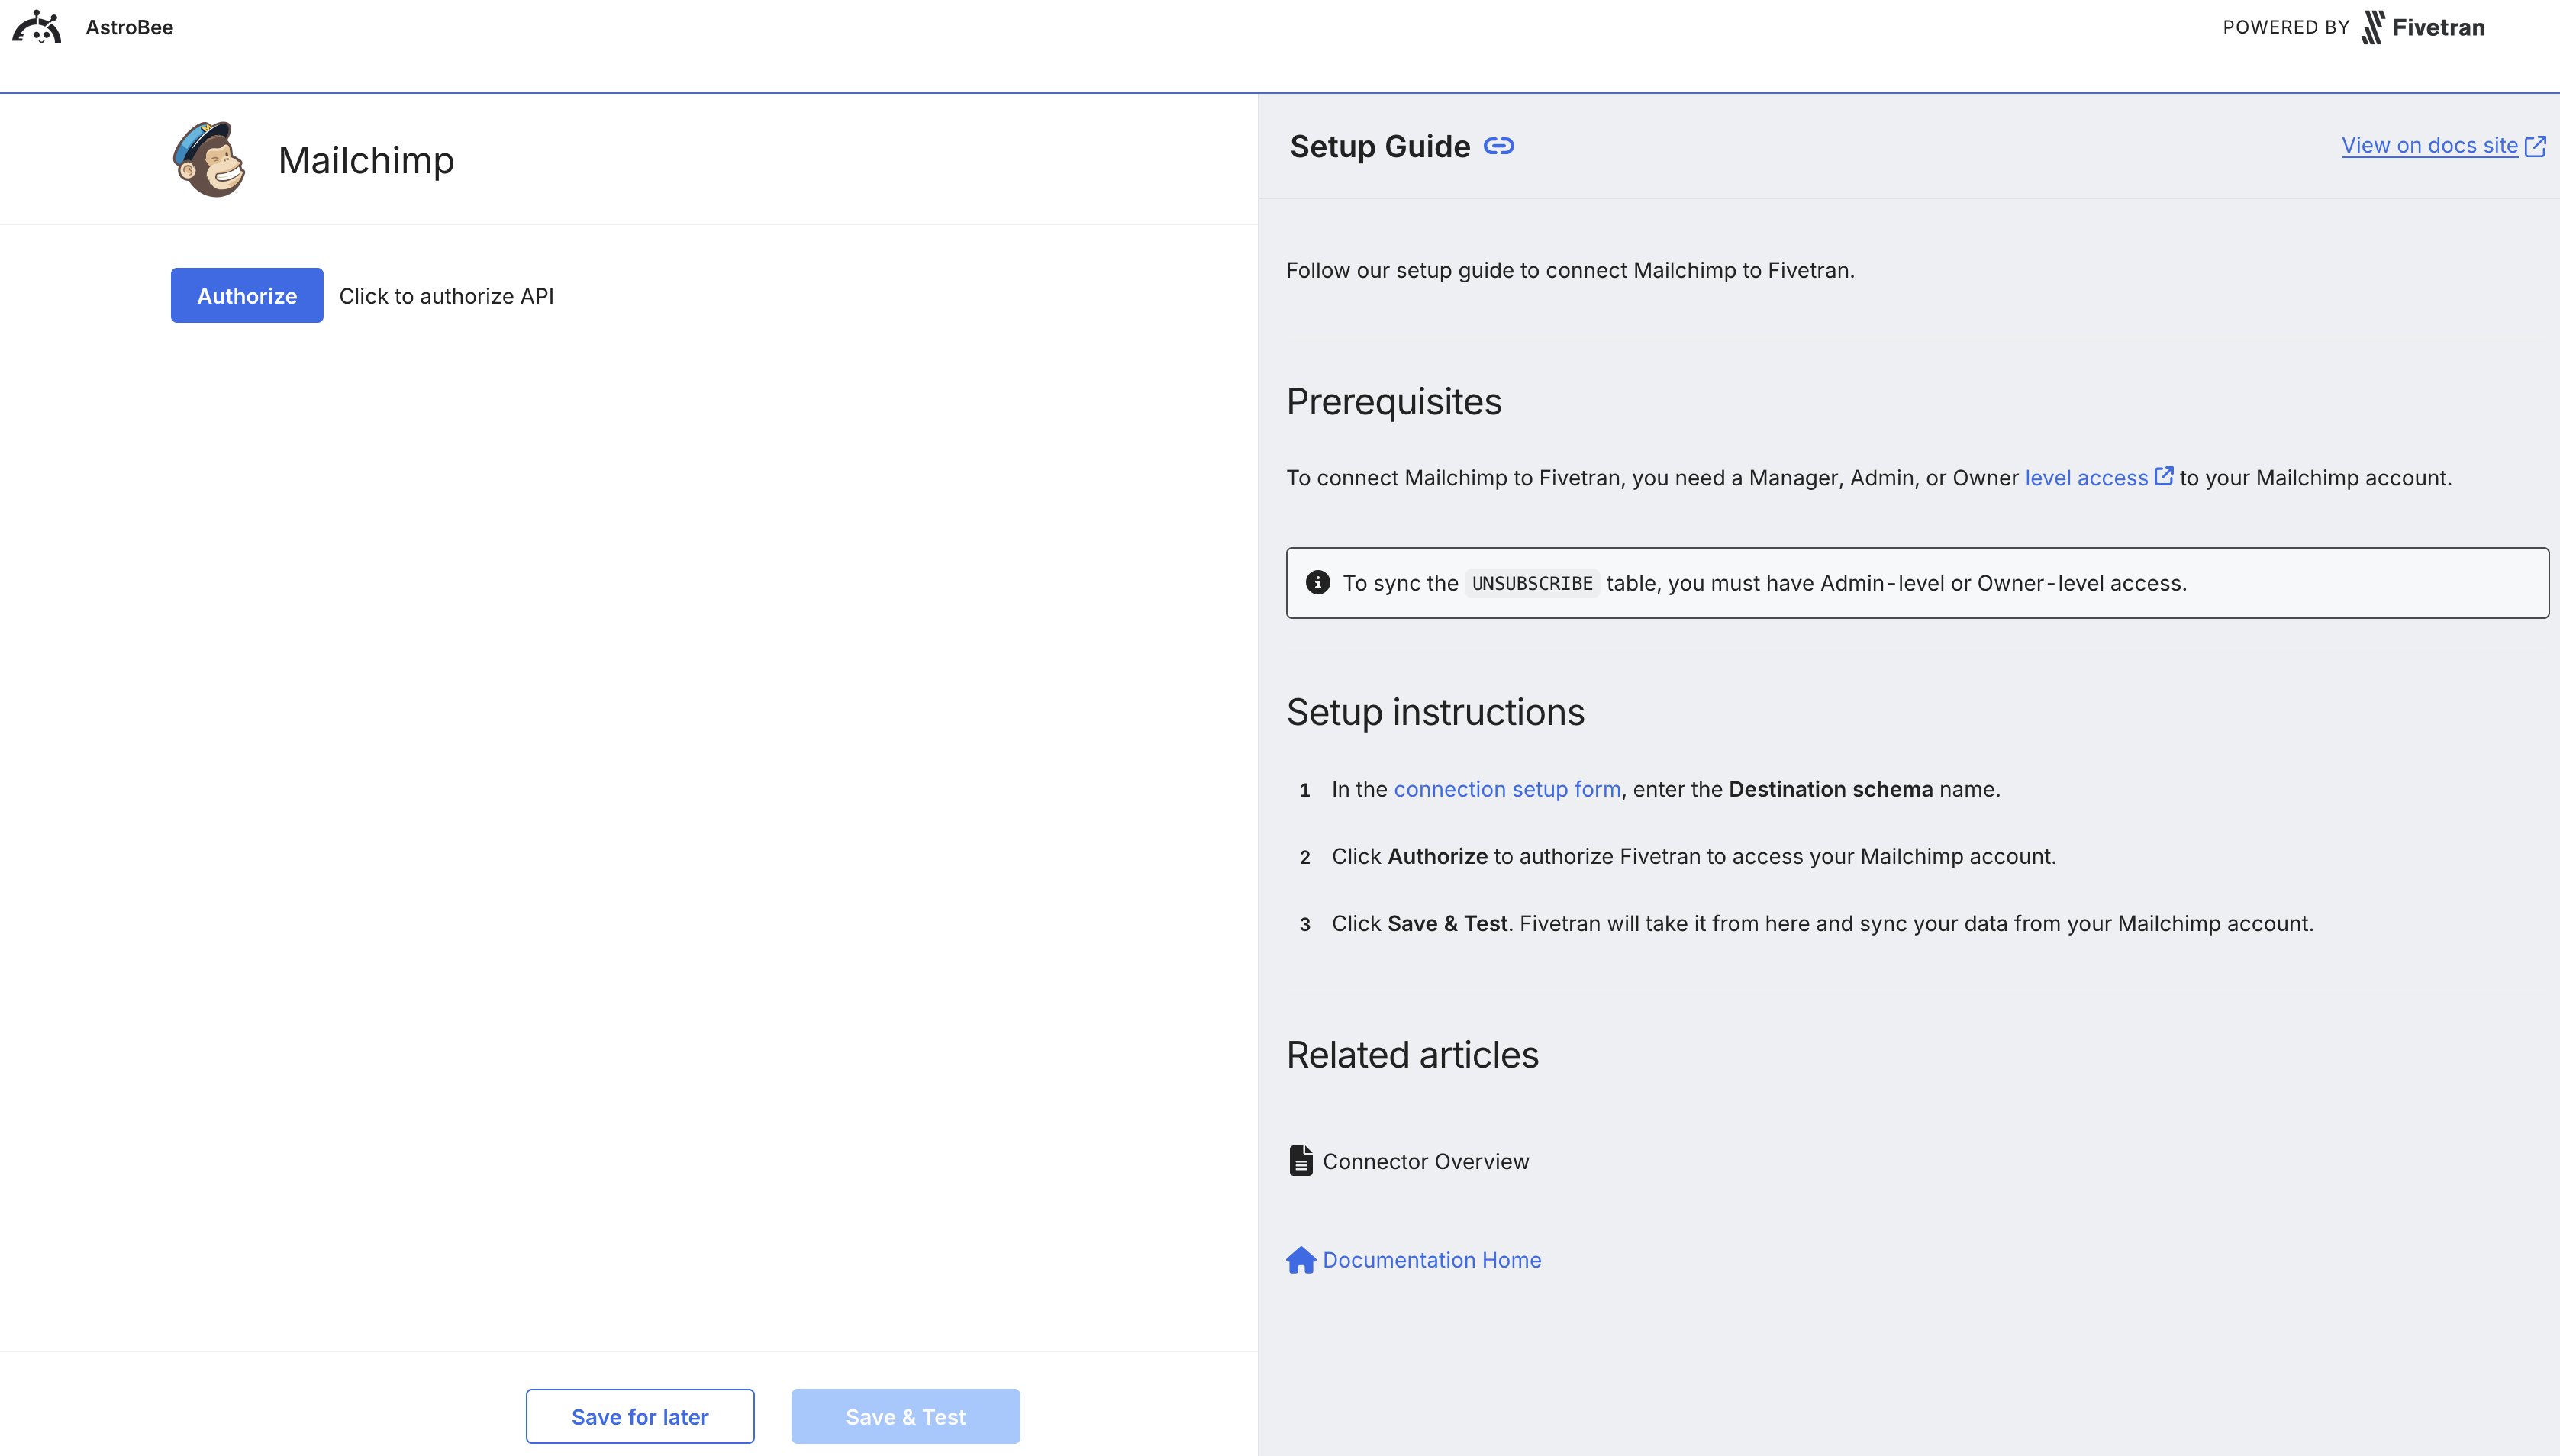
Configure sync settings
After authentication succeeds, you’ll see “Authentication Succeeded”: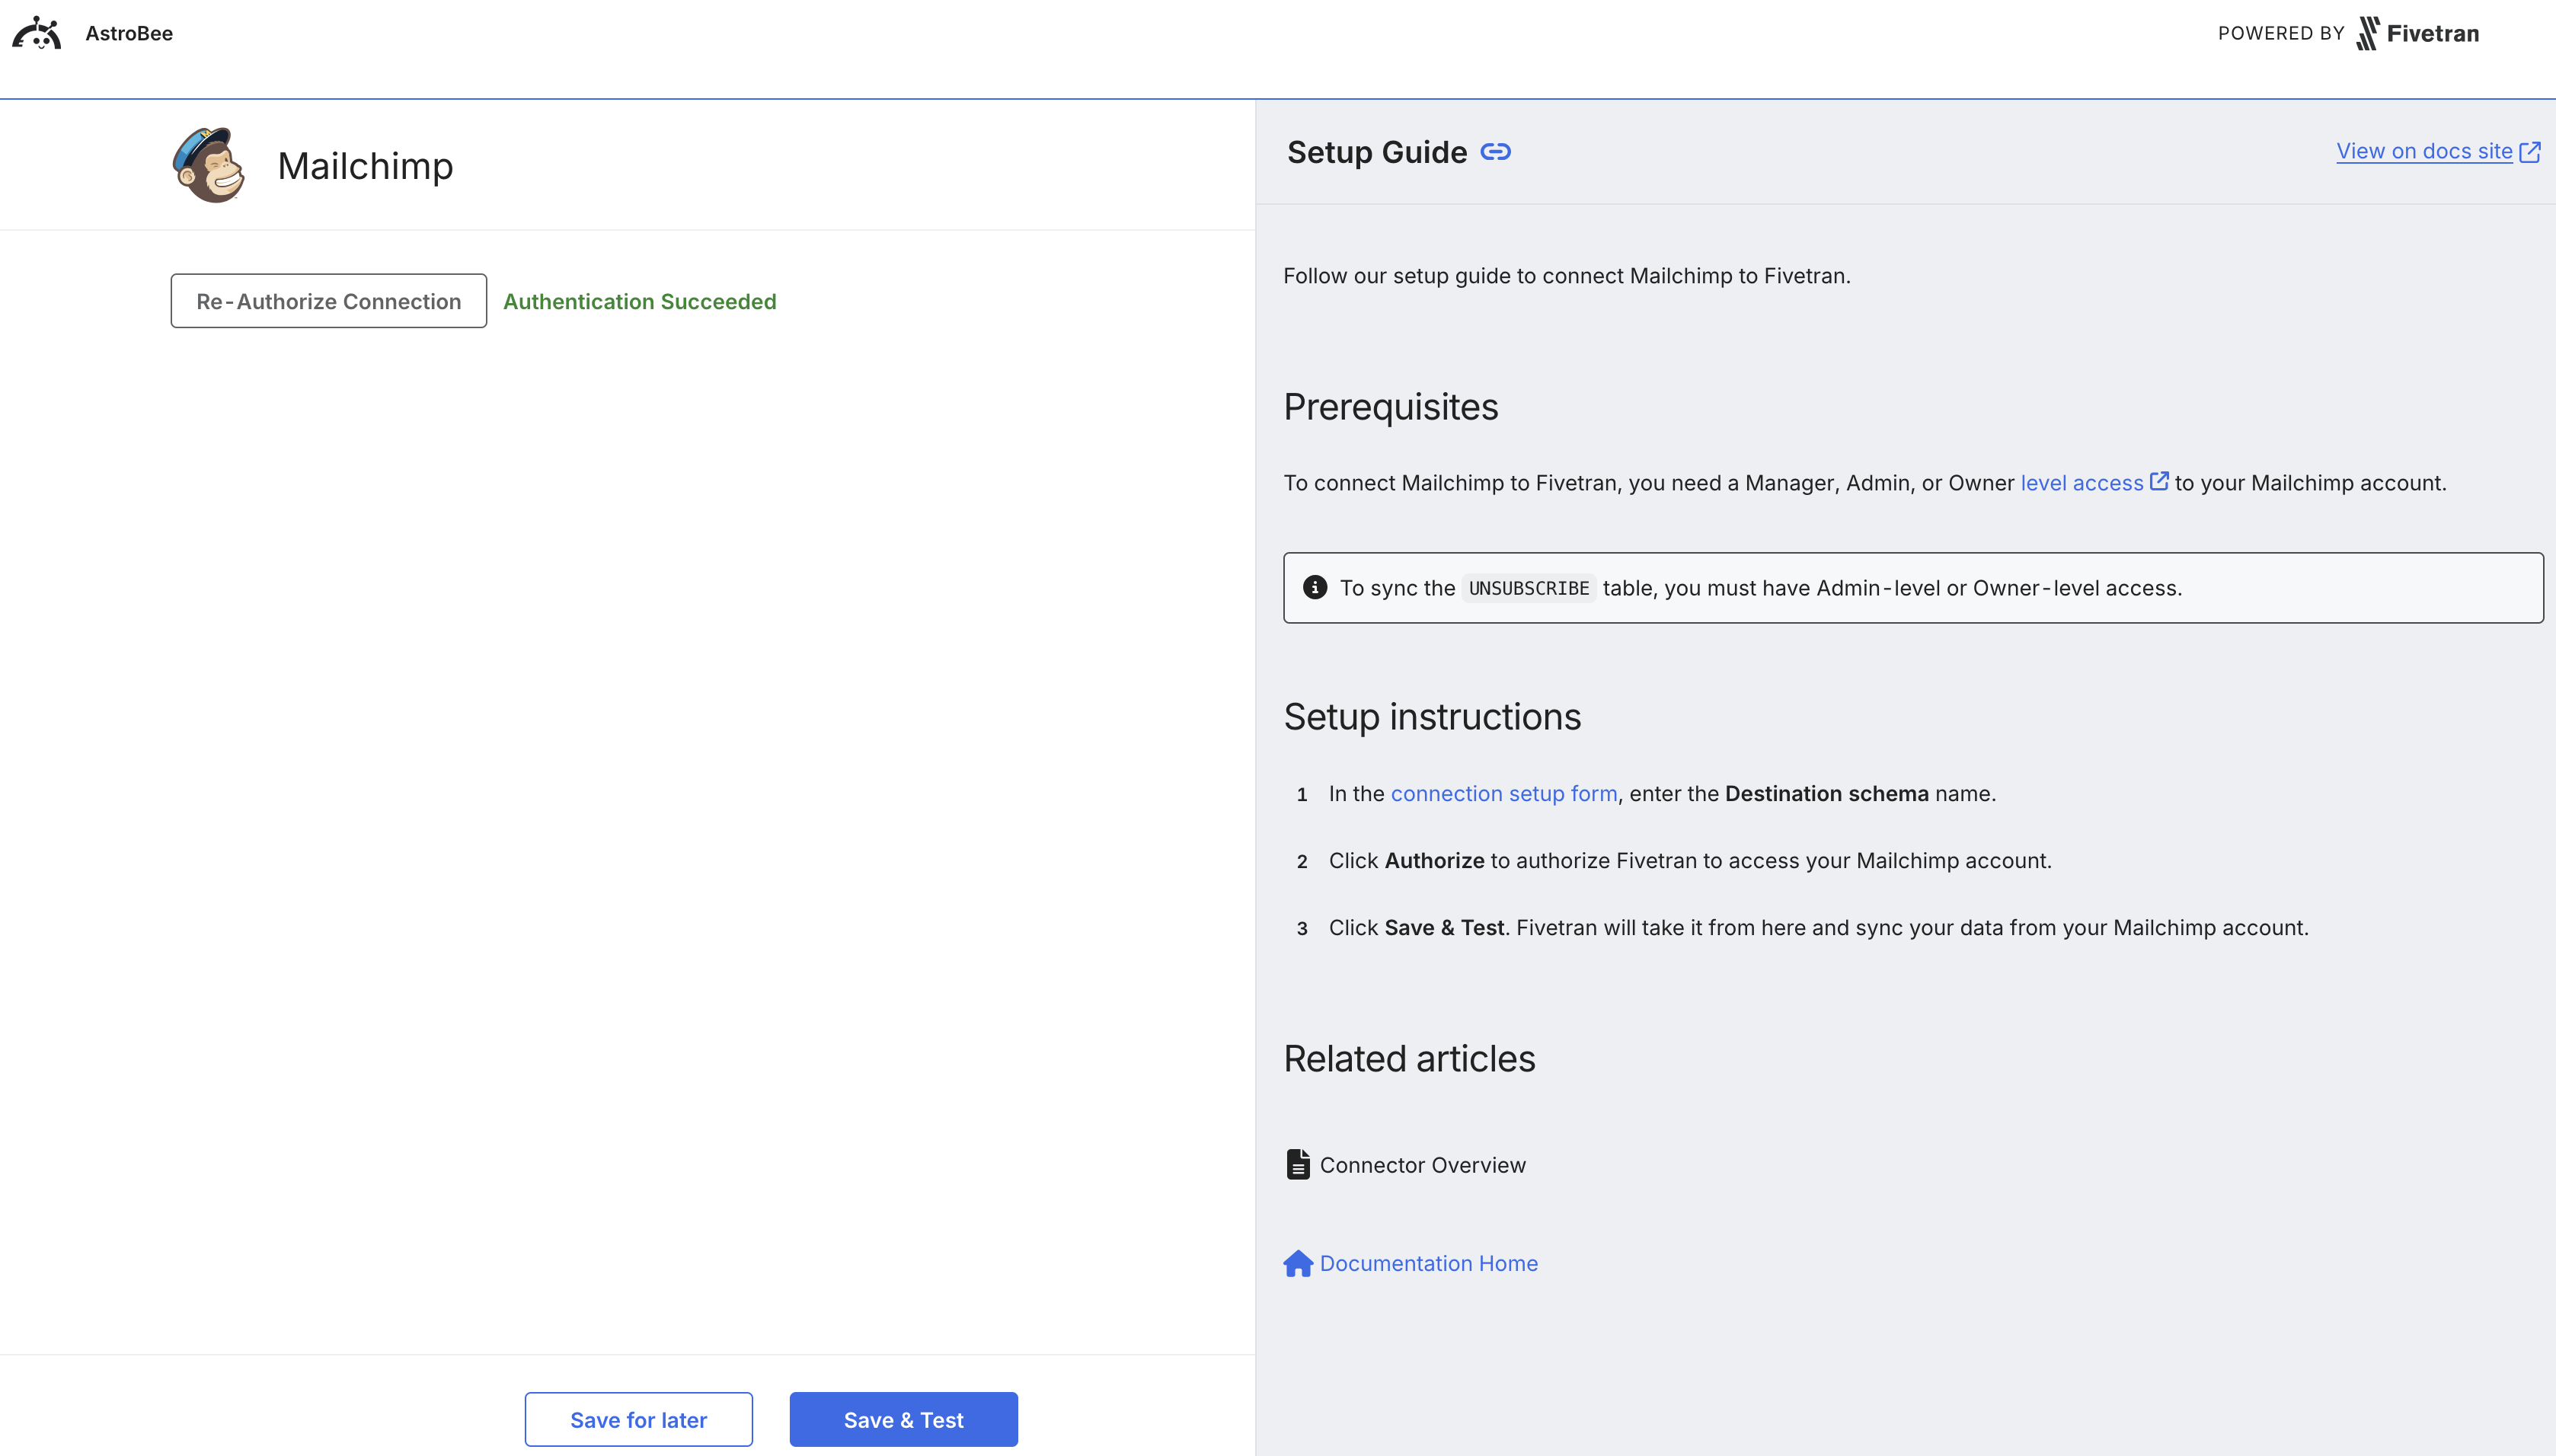
Select tables to sync
Back in AstroBee, the “Configure Connector” modal shows your sync progress. Expand Sync Settings to select which tables to include.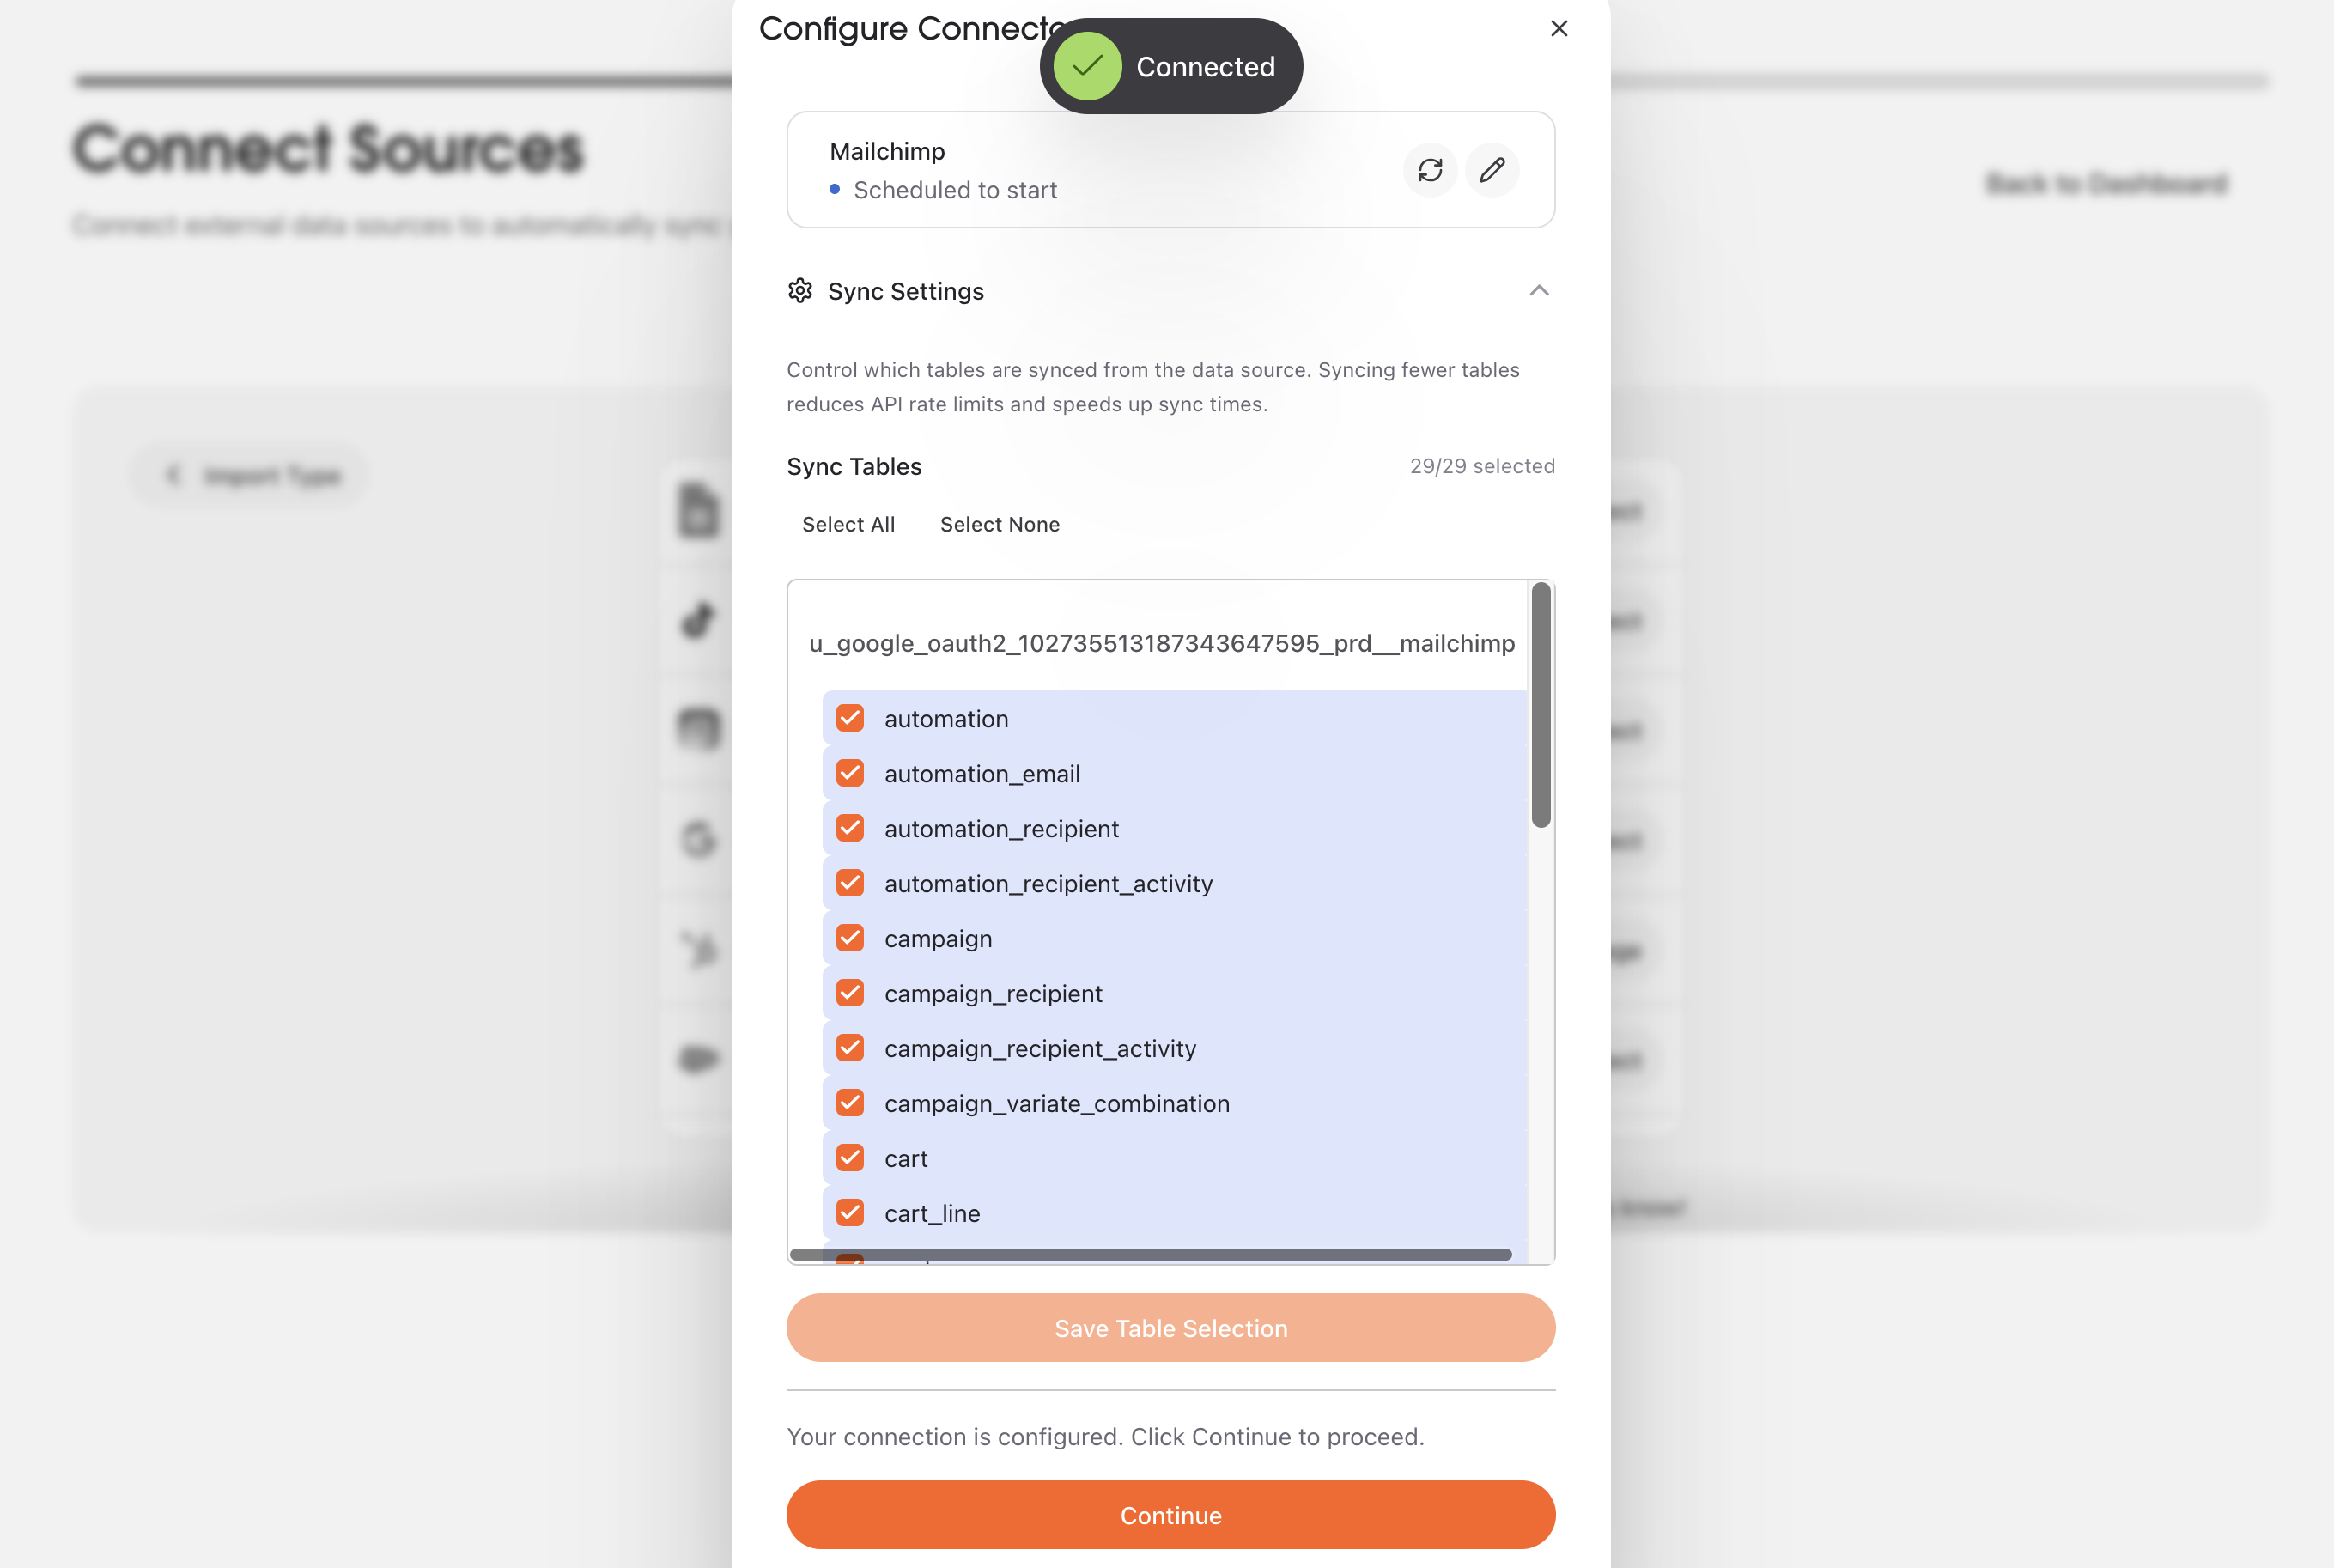
- campaign: Email campaign details and settings
- campaign_recipient: Campaign send recipients
- campaign_recipient_activity: Opens, clicks, and engagement
- automation: Automated email workflows
- automation_email: Emails within automations
- list: Audience lists and segments
- member: Subscriber information
- unsubscribe: Unsubscribed contacts (requires Admin access)
Data layer building
A modal appears showing “Your data layer is building”. AstroBee is unifying, deduplicating, and resolving entities across your data.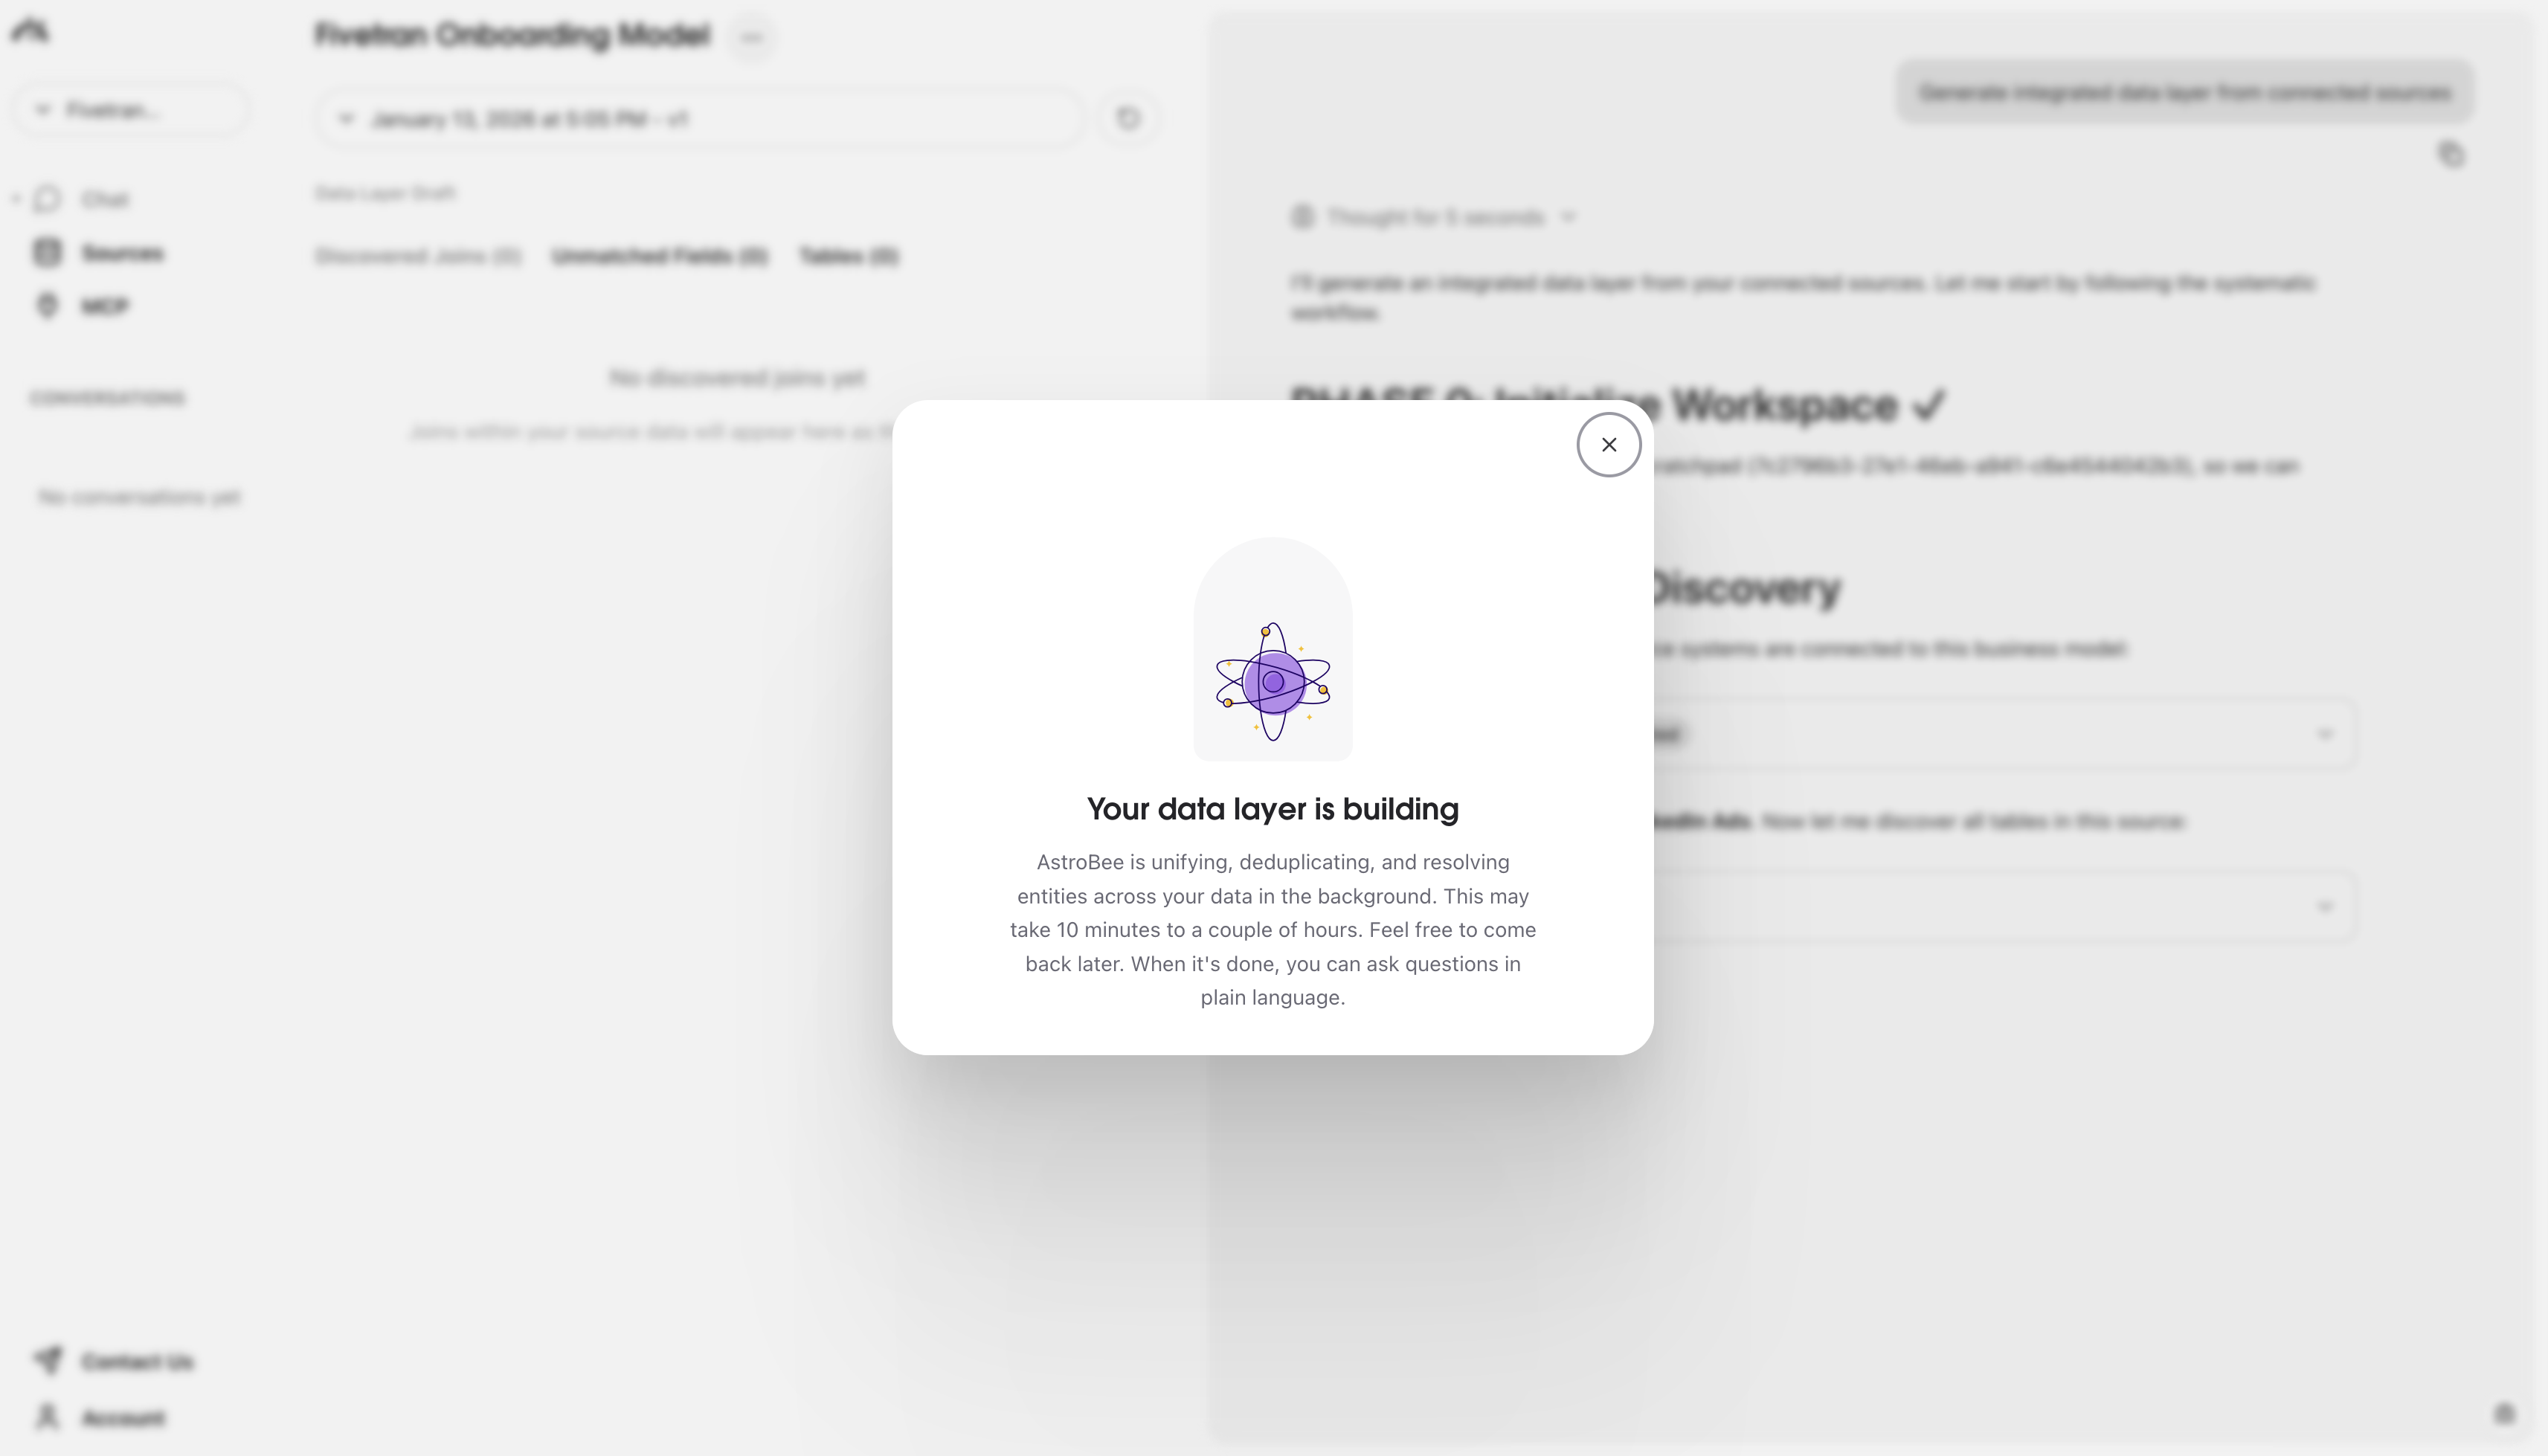
Data syncing
The Sources page shows your sync progress. Your data source is syncing and the data layer will be generated automatically once syncing completes.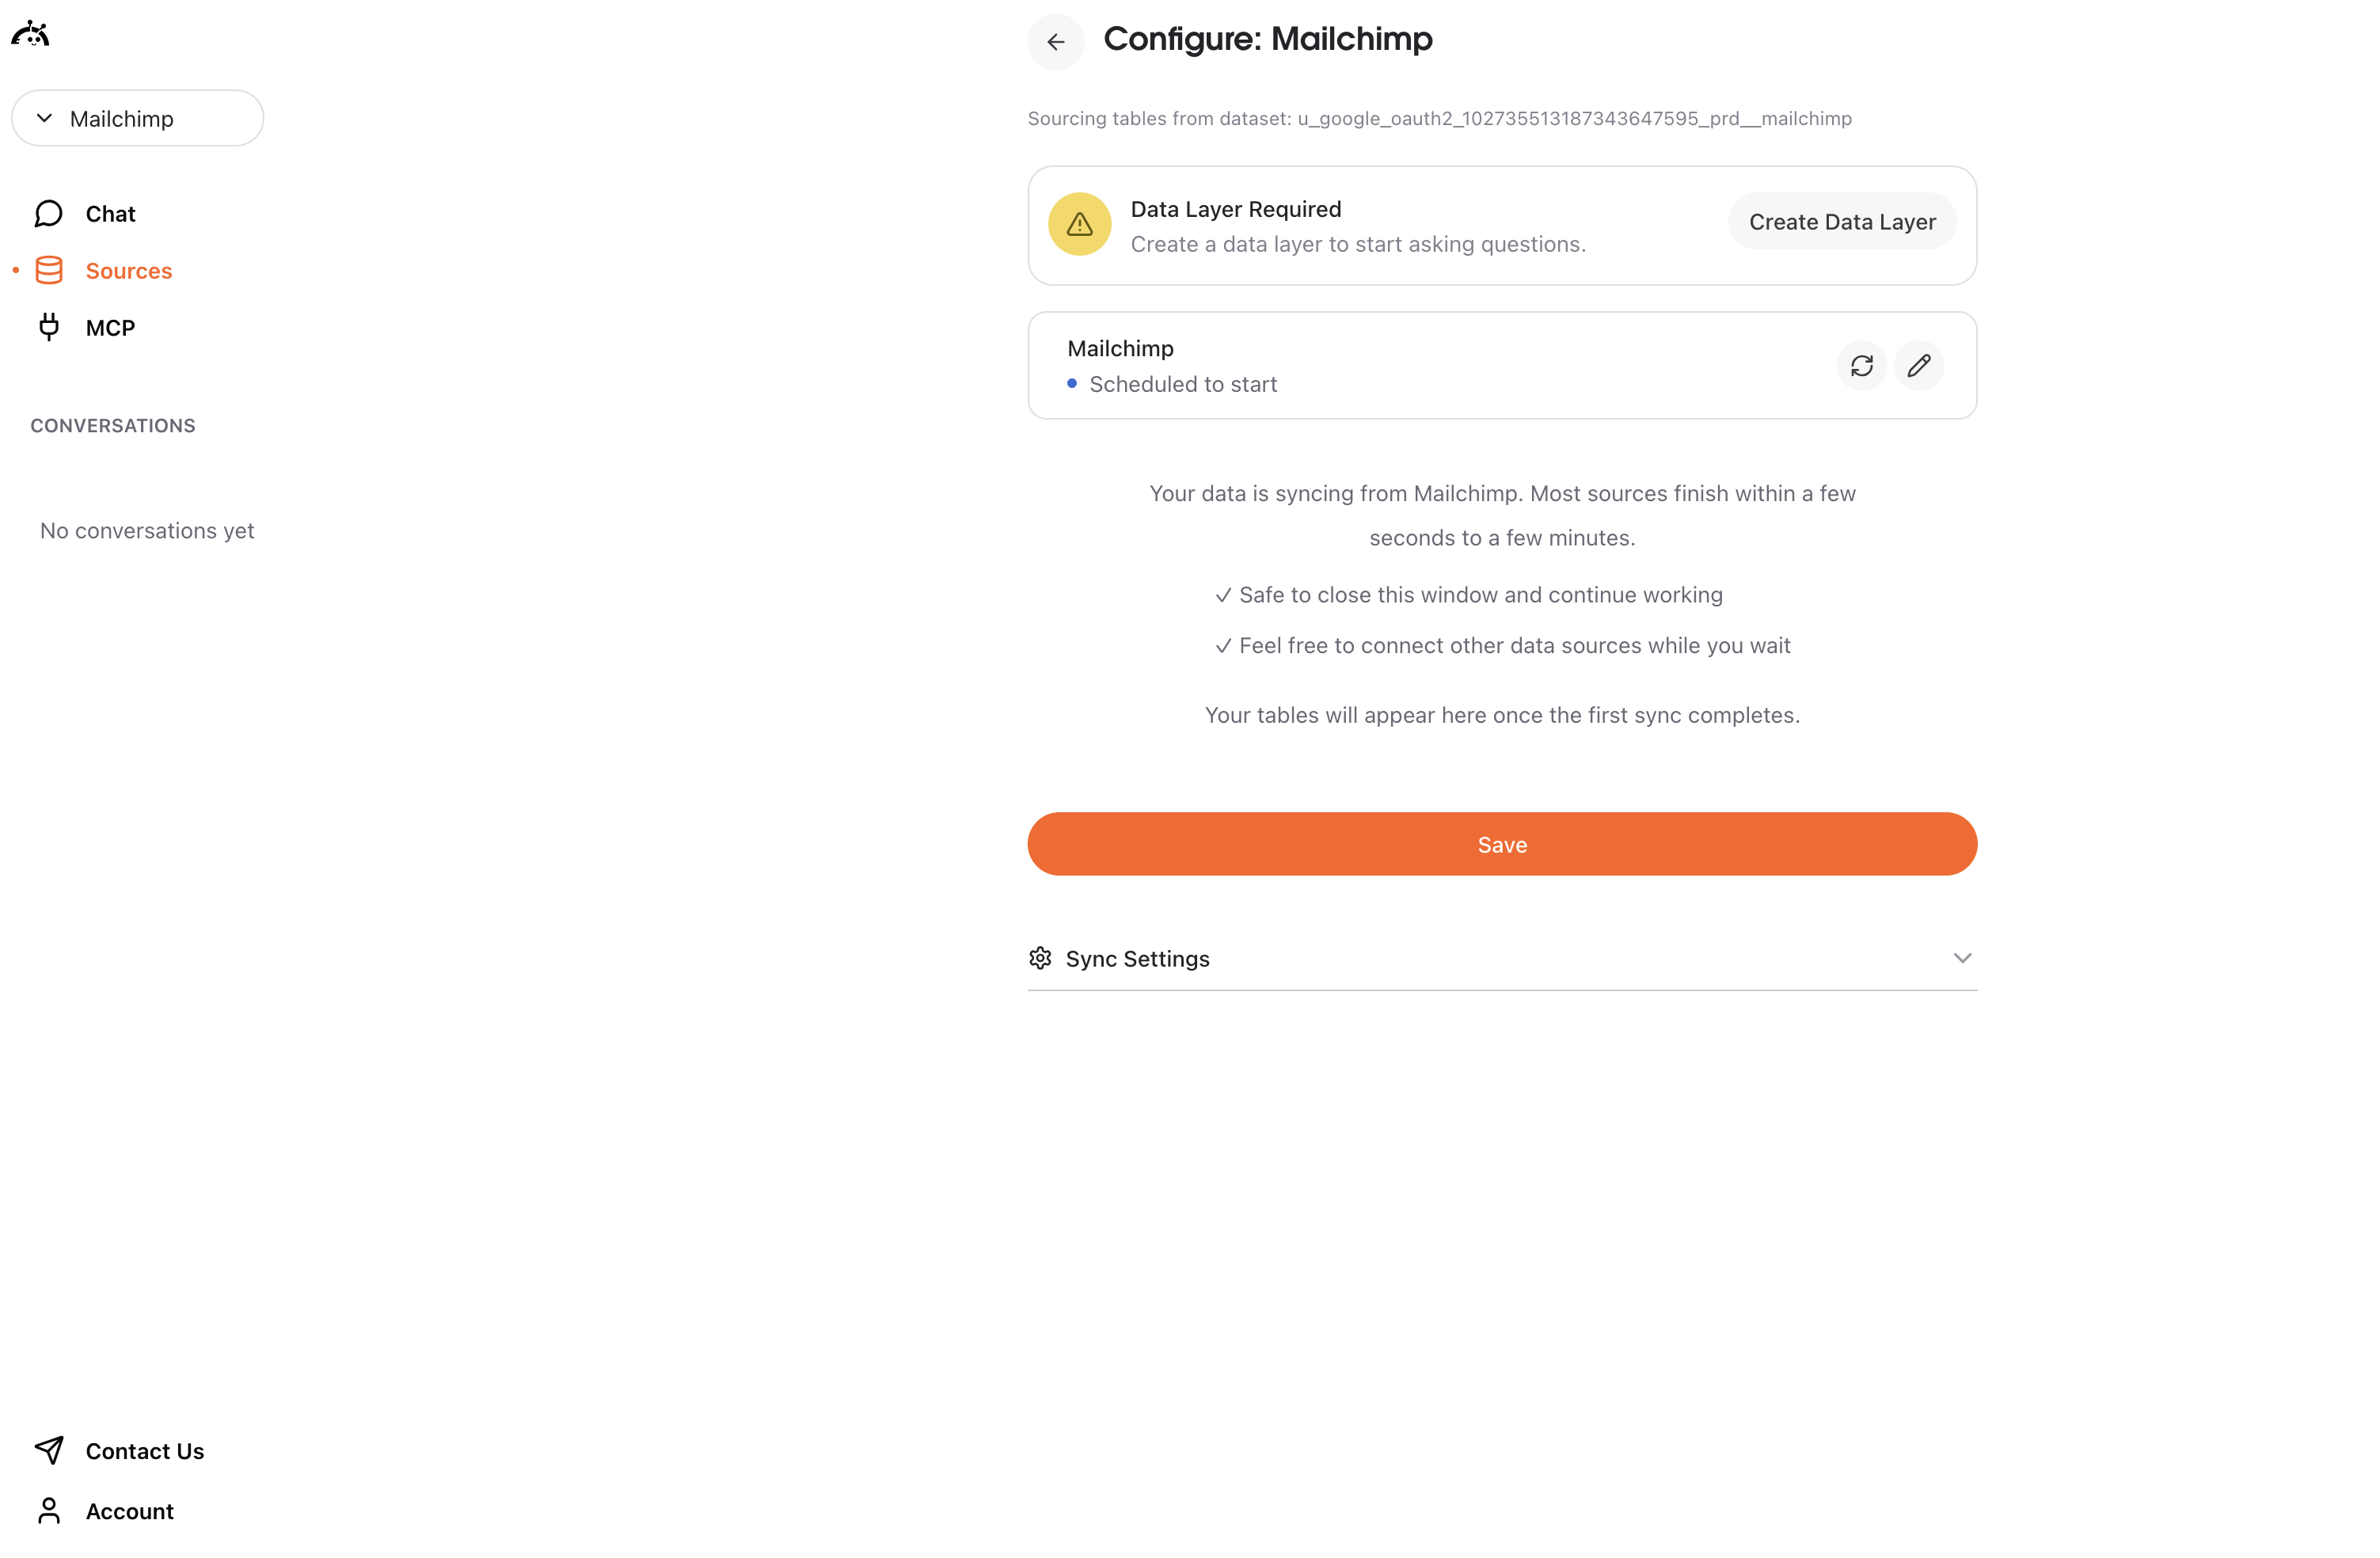
What happens next
After connecting Mailchimp, AstroBee automatically generates a data layer from your synced tables. Once complete, you can start querying your email marketing data using natural language.Syncing data
Mailchimp connections use manual sync - you control when data is refreshed. To sync your latest email marketing data:- Navigate to the Sources page
- Find your Mailchimp connection
- Click the sync button
Understanding Mailchimp data
Mailchimp syncs multiple related tables:- Campaign data: Email campaigns, A/B tests, and send history
- Automation data: Automated workflows and triggered emails
- Audience data: Lists, segments, subscribers, and tags
- Engagement data: Opens, clicks, bounces, and unsubscribes
- E-commerce data: Carts, orders, and product activity (if connected)
Troubleshooting
For additional help, see Fivetran’s Mailchimp troubleshooting guide.Authentication failed
Authentication failed
Issue: Unable to authorize access to Mailchimp.Solution:
- Ensure you have Manager, Admin, or Owner level access to your Mailchimp account
- Verify you’re signed in to the correct Mailchimp account
- Check that your Mailchimp account is active and not suspended
- Try re-authorizing from the beginning
- Clear browser cookies and try again
Unsubscribe table not syncing
Unsubscribe table not syncing
Issue: The UNSUBSCRIBE table is empty or not available.Solution:
- The UNSUBSCRIBE table requires Admin-level or Owner-level access
- Verify your Mailchimp account has the appropriate permission level
- Manager-level users cannot sync unsubscribe data
- Contact your Mailchimp account owner to upgrade your access if needed
No data syncing
No data syncing
Issue: Connection succeeds but no data appears in tables.Solution:
- Verify your Mailchimp account has campaigns or audience data
- Check that you have sent at least one campaign
- Ensure you selected the correct tables during setup
- Wait for the initial sync to complete (can take 10+ minutes for large accounts)
- Trigger a manual sync to refresh data
Sync taking too long
Sync taking too long
Issue: Initial sync appears stuck or is taking longer than expected.Solution:
- Large accounts with extensive campaign history can take 30+ minutes to sync
- Check your internet connection
- Avoid making changes to the connection during sync
- Mailchimp API rate limits may slow down large syncs
- If stuck for more than an hour, contact support at [email protected]
Missing campaigns or subscribers
Missing campaigns or subscribers
Issue: Some campaigns or subscribers don’t appear in synced data.Solution:
- Verify the campaigns exist in your Mailchimp account
- Check that campaigns have been sent (draft campaigns may not sync)
- Ensure subscribers are in active lists (archived lists may not sync)
- Trigger a new sync to pull the latest data
- Review your Mailchimp account permissions
Engagement data incomplete
Engagement data incomplete
Issue: Opens, clicks, or other engagement metrics are missing.Solution:
- Engagement data may have a delay of up to 24 hours
- Verify campaigns have actually been opened or clicked
- Check that engagement tracking is enabled in Mailchimp
- Some engagement data requires Mailchimp’s tracking features to be active
- Trigger a new sync after engagement has had time to accumulate
Historical backfill taking too long
Historical backfill taking too long
Issue: Status shows “Backfilling history” for many hours.Solution:
- Historical backfills for Mailchimp can take 12+ hours for accounts with years of campaign data
- This is normal behavior, not a stuck sync
- You can safely close the browser and return later
- The sync continues in the background and your data layer will generate automatically when complete
- If backfill exceeds 72 hours with no progress, contact support at [email protected]
Data layer not generating
Data layer not generating
Issue: Sync completed but data layer shows an error or never finishes building.Solution:
- Check that at least one table was selected during setup
- Verify your synced tables contain actual data (not empty)
- Try refreshing the page to see updated status
- If the error persists, try disconnecting and reconnecting Mailchimp
- Contact support at [email protected] with the error message if the issue continues